A camera mounting bracket is a device used to securely attach a camera to a fixed surface such as a wall, ceiling, or pole. These brackets ensure that the camera remains stable and correctly positioned, providing the best possible view for surveillance or recording purposes. This guide explores the different types of camera mounting brackets, their benefits, and how to install them.
Types of Camera Mounting Brackets
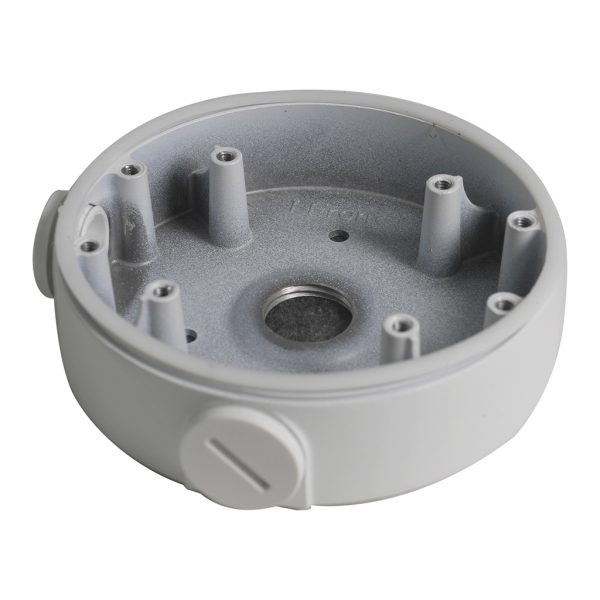
- Wall Mount Brackets:
- Overview: Wall mount brackets are designed to affix cameras to vertical surfaces like walls. They are ideal for indoor and outdoor installations where side views are required.
- Common Uses: Suitable for monitoring entryways, hallways, and outdoor perimeters.
- Ceiling Mount Brackets:
- Overview: These brackets are used to attach cameras to ceilings. They provide a top-down view, which is excellent for comprehensive coverage of a room or open area.
- Common Uses: Ideal for indoor use in areas like lobbies, retail stores, and offices.
- Pole Mount Brackets:
- Overview: Pole mount brackets allow cameras to be mounted on poles or posts. This type is often used in outdoor environments for wide-area surveillance.
- Common Uses: Suitable for parking lots, streets, and large open spaces.
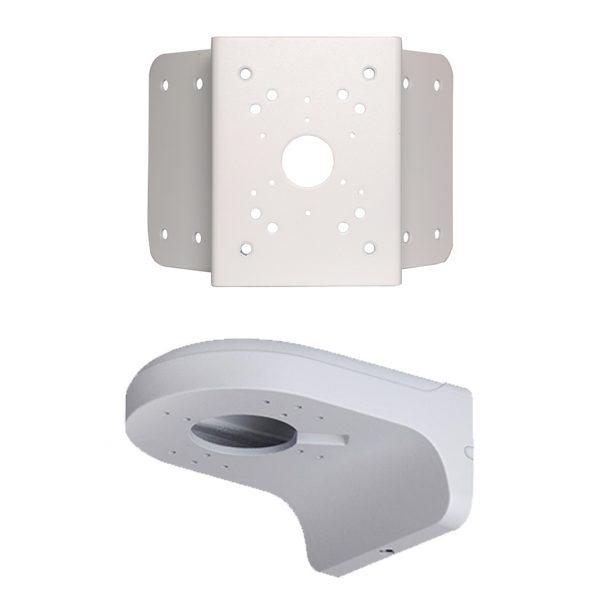
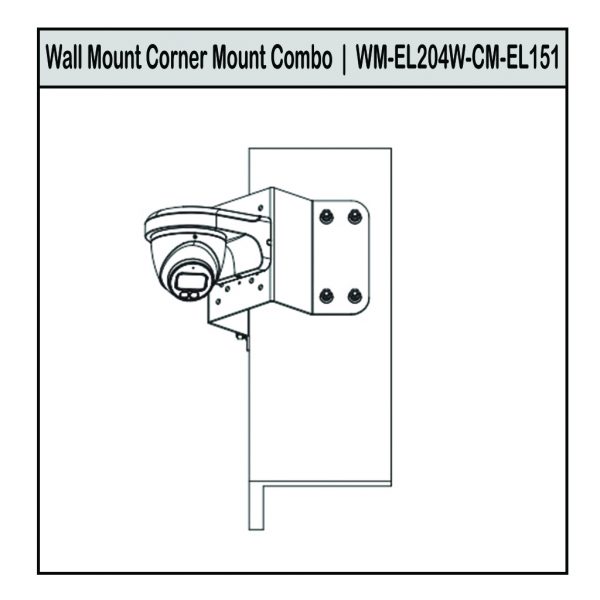
- Corner Mount Brackets:
- Overview: Corner mount brackets enable cameras to be installed on corners of buildings or walls, offering a wide field of view covering two adjacent areas.
- Common Uses: Ideal for building exteriors, parking garages, and large indoor areas.
- Adjustable Mount Brackets:
- Overview: Adjustable brackets offer flexibility in positioning, allowing the camera to be tilted, swiveled, or rotated to achieve the desired angle.
- Common Uses: Useful in situations where the camera’s viewing angle needs to be frequently adjusted.
Benefits of Camera Mounting Brackets
- Stability and Security: Brackets provide a stable and secure attachment, preventing the camera from shifting or falling.
- Optimal Viewing Angles: They help position the camera to achieve the best possible view, ensuring comprehensive coverage of the monitored area.
- Versatility: Available in various types and sizes, mounting brackets can accommodate different camera models and installation environments.
- Durability: Many brackets are made from robust materials like metal or high-grade plastic, ensuring they withstand harsh weather conditions and physical impacts.
How to Install a Camera Mounting Bracket
- Choose the Location:
- Determine the Best Position: Identify the optimal location for your camera, ensuring it covers the desired area and has a clear view.
- Avoid Obstructions: Make sure there are no obstructions like trees, lights, or other objects that could block the camera’s view.
- Mark the Mounting Holes:
- Use the Template: Most camera mounting brackets come with a mounting template. Hold the template against the surface and mark the screw holes using a pencil.
- Measure and Level: Use a tape measure and level to ensure the marks are aligned correctly.
- Drill the Holes:
- Select the Right Drill Bit: Choose a drill bit that matches the size of the wall anchors.
- Drill the Holes: Carefully drill holes at the marked spots. If you’re drilling into brick or concrete, use a masonry bit.
- Insert Wall Anchors:
- Insert Anchors: Place wall anchors into the drilled holes. Tap them gently with a hammer until they are flush with the surface.
- Attach the Mounting Bracket:
- Align the Bracket: Position the mounting bracket over the wall anchors and align the screw holes.
- Secure with Screws: Use screws to attach the bracket to the surface, ensuring it is tightly secured.
- Connect the Camera to the Mounting Bracket:
- Attach the Camera: Align the camera with the mounting bracket and secure it using the provided screws or locking mechanism.
- Adjust the Angle: Adjust the camera to the desired angle and direction, ensuring it covers the intended area.
- Run the Cables:
- Plan the Cable Route: Determine the best path for the cables, avoiding areas where they could be damaged or tripped over.
- Use Cable Clips or Conduit: Secure the cables using cable clips or conduit to keep them organized and protected.
- Connect Power and Network Cables:
- Power Connection: Connect the power adapter to the camera and plug it into a power outlet. If using Power over Ethernet (PoE), connect the Ethernet cable to the camera and the PoE injector or switch.
- Network Connection: Connect the Ethernet cable to the camera and the router or network switch.
- Configure the Camera:
- Access the Camera’s Web Interface: Open a web browser and enter the camera’s IP address to access its web interface.
- Set Up Network Settings: Configure the network settings, such as IP address, subnet mask, gateway, and DNS.
- Adjust Camera Settings: Adjust settings like resolution, frame rate, motion detection, and recording schedules according to your needs.
- Test the Installation:
- Power On: Turn on the camera and ensure it powers up correctly.
- Check Video Feed: Verify that the camera is transmitting a clear video feed to your monitoring device or recording system.
- Adjust as Needed: Make any necessary adjustments to the camera’s position or settings to optimize performance.
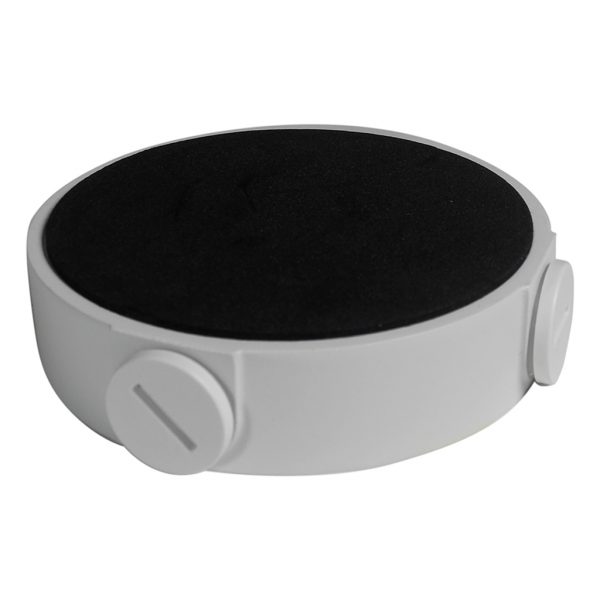
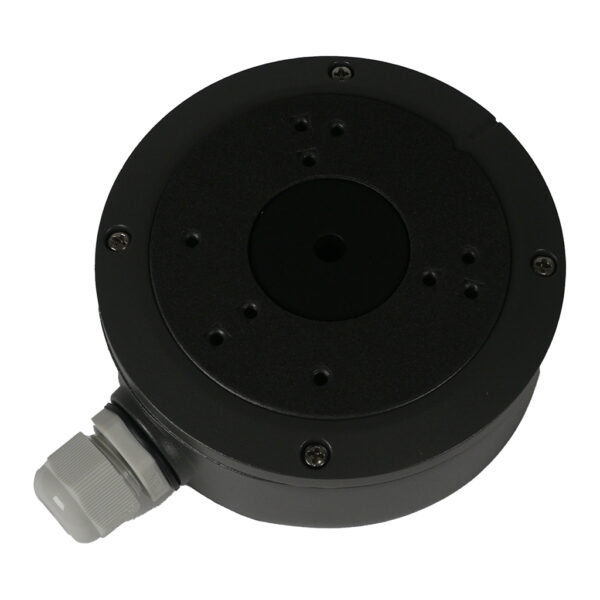
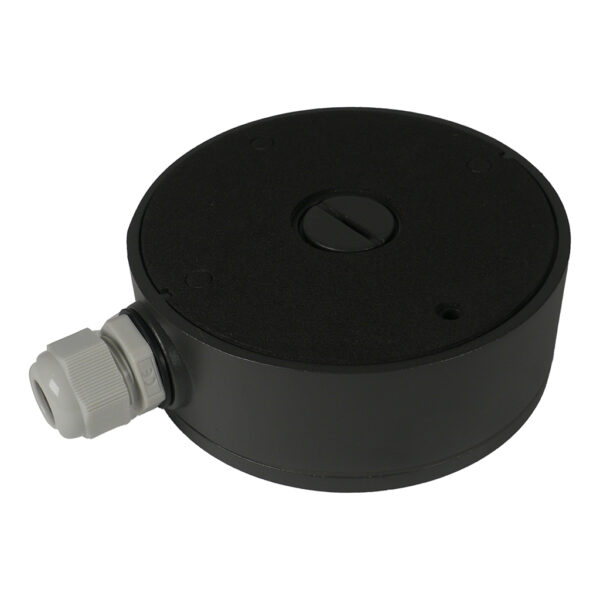
Related Products
Frequently Asked Questions (FAQ)
- Can I use any mounting bracket for my camera?
- It is important to use a mounting bracket that is compatible with your specific camera model to ensure proper fitting and stability.
- Are mounting brackets weatherproof?
- Many mounting brackets designed for outdoor use are weatherproof and can withstand harsh environmental conditions. Always check the specifications to ensure suitability.
- How do I know if my camera is securely mounted?
- Ensure that all screws and wall anchors are tightly secured and that the camera does not move or wobble when touched.
- Can I adjust the camera angle after installation?
- Yes, many mounting brackets, especially adjustable ones, allow for angle adjustments even after installation.
- What should I do if the camera’s view is obstructed?
- Consider repositi