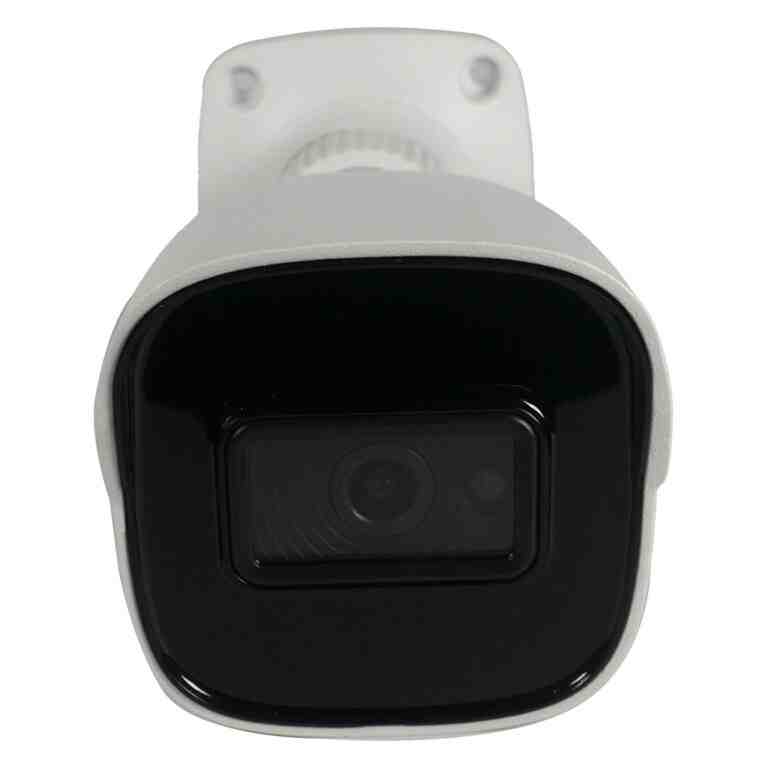
Installing cameras outside home can significantly improve your property’s security, providing surveillance that brings peace of mind. If you’re looking for a quick answer about how to start, here’s a breakdown:
-
Secure every entrance to monitor all access points.
-
Install at optimal height (around 9 feet) to avoid tampering while maintaining a clear view.
-
Visible cameras deter potential intruders simply by being seen.
-
Consider local storage over cloud options for cost-effectiveness and added security.
-
Improve footage quality with accessories like floodlights.
Setting up security cameras outdoors is not just about protecting your property from threats—it’s a proactive step to ensure the safety of those within it. Whether you’re safeguarding your home or business, correctly installing security cameras can deter thieves, monitor activity, and even aid in incident investigations. As a retail manager like Rachel, understanding these basics ensures a safer and more efficiently managed environment.
I’m Brad Besner, founder of Security Camera King, Inc. With years of experience in installing cameras outside home, I’ve helped countless clients improve their security systems efficiently and effectively.

Planning Your Outdoor Camera Installation
Installing cameras outside home requires careful planning to ensure optimal performance and coverage. Here’s how you can make the most of your security setup:
Choosing the Right Location
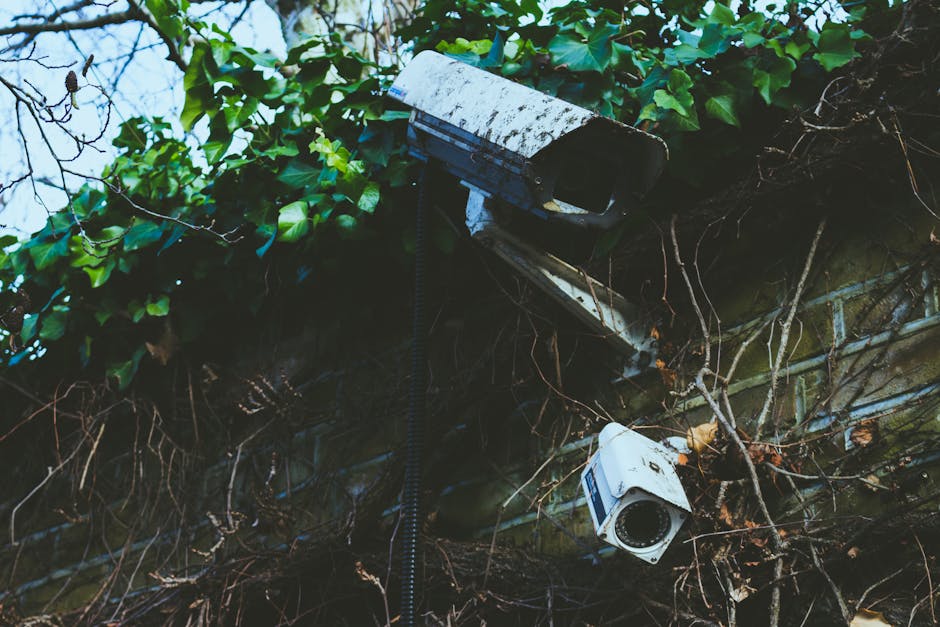
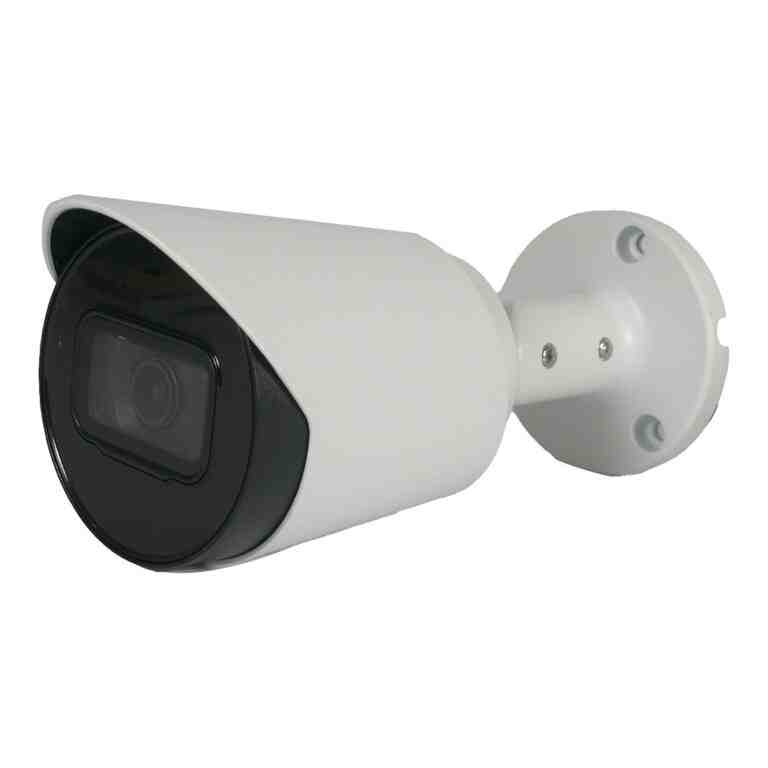
Placement is critical. The main entrance, back and side doors, driveway, and yard are prime spots. Position cameras 8 to 10 feet off the ground. This height prevents tampering while capturing a wide view. Placing cameras high also keeps them out of reach, reducing the risk of theft or damage.
Avoid glare by directing cameras away from the sun. Glare can obscure footage, making it useless. Consider installing a sun shade if glare is unavoidable. Also, ensure that cameras are not facing windows, as reflections can distort the image.
Wi-Fi range is another crucial factor. Ensure your cameras are within your Wi-Fi network’s range. If your property is large, consider using a Wi-Fi extender to maintain a strong connection. A weak signal can result in poor video quality and connectivity issues.
Power source options vary. Decide whether you want wired or wireless cameras. Wired cameras provide consistent power but require more installation work. Wireless cameras offer flexibility but need regular battery checks or solar panels for recharging.
Tools and Equipment Needed
Gathering the right tools simplifies installation. Here’s what you’ll need:
-
Power Drill: Essential for making holes in tough materials like masonry.
-
Masonry Bits: Designed for drilling into stone or concrete.
-
Electric Screwdriver: Makes securing screws into exterior walls easier.
-
Wall Scanner: Use this to detect studs, pipes, and cables before drilling. It prevents damage to hidden infrastructure.
-
Spirit Level: Ensures your camera is mounted straight. A level camera captures better footage and looks more professional.
Having the right tools and choosing the optimal location will streamline your outdoor camera installation process. These steps ensure your cameras are well-positioned and functional, enhancing your property’s security. Next, we’ll dive into the step-by-step guide for syncing and mounting your cameras effectively.
Step-by-Step Guide to Installing Cameras Outside Home
Connecting and Syncing Your Camera
To start installing cameras outside home, you’ll first need to download the security camera app provided by the camera manufacturer. This app is your control center for configuration and monitoring.
Sync your camera with the app by following these steps:
-
Set Up Your Account: Open the app and create an account if you haven’t already.
-
Plug in the Camera: Connect the camera to a power source. Look for an LED light (usually red, green, blue, or orange) to ensure it’s powered on. If there’s no light, try troubleshooting through the app or the manufacturer’s website. Contact customer support if needed.
-
Add New Camera: In the app, find the option to add a new camera. This might be a plus sign or a button labeled ‘Add Camera’ or ‘Add New Device.’
-
QR Code Scanning: Some cameras display a QR code on the device. Follow the app instructions to scan this code using your camera. If required, connect to the camera via your device’s Wi-Fi settings as if it were a wireless hub.

If you encounter issues, the app or the manufacturer’s website often has troubleshooting tips. Troubleshooting might involve resetting the camera or adjusting network settings.
Mounting the Camera
Once your camera is synced, it’s time to mount it. Here’s how:
-
Mark the Location: Use the camera’s mounting guide or hold the bracket against the wall to mark where you’ll drill holes. Make sure the location is optimal, considering factors like height and glare.
-
Drill Holes: With a power drill and masonry bits, drill holes slightly smaller than the screws provided. This makes it easier to insert screws later.
-
Secure the Bracket: Align the bracket holes with the drilled holes. Use an electric screwdriver to secure the bracket to the wall. Ensure it’s stable and level using a spirit level.
-
Insert Batteries: If your camera is battery-powered, insert the batteries as per the manual. This is crucial for wireless cameras, as they rely on battery power.
-
Mount the Camera: Attach the camera to the secured bracket. Adjust it to capture the desired field of view.

By following these steps, you’ll have a securely mounted and synced camera ready to improve your home’s security. Next, we’ll discuss the power options for outdoor security cameras, ensuring they remain operational and effective.
Powering Your Outdoor Security Cameras
When it comes to installing cameras outside home, choosing the right power source is crucial. Let’s explore the options: wired vs. wireless cameras.
Wired Cameras
Wired cameras are known for their reliable power supply. They connect directly to your home’s electrical system, ensuring a constant power flow. This means no worrying about battery life or recharging. However, installing wired cameras can be more complex. You’ll need to run wires through walls or ceilings, which might require professional help.
Pros of Wired Cameras:
- Stable Power Supply: Never worry about dead batteries.
- Continuous Recording: Ideal for 24/7 surveillance.
- No Signal Interference: Wired connections are less prone to signal issues.
Cons of Wired Cameras:
- Complex Installation: Requires drilling and possibly professional installation.
- Less Flexible: Once installed, moving them is a hassle.
Wireless Cameras
Wireless cameras offer more flexibility. They run on batteries or solar power, making them easier to install. You can place them anywhere within Wi-Fi range, without worrying about power outlets. Most wireless cameras come with rechargeable batteries, and some even have solar panels for eco-friendly charging.
Pros of Wireless Cameras:
- Easy Installation: No wires to run, just mount and go.
- Flexible Placement: Place them anywhere in Wi-Fi range.
- Portable: Easy to relocate if needed.
Cons of Wireless Cameras:
- Battery Maintenance: Regular recharging or battery replacement required.
- Signal Dependency: Relies on strong Wi-Fi signals.
Battery Life and Solar Panels
Battery Life: Depending on usage, wireless camera batteries can last from a few weeks to several months. Frequent motion detection and live streaming can drain batteries faster.
Solar Panels: Some cameras come with solar panel options. These harness sunlight to recharge batteries, reducing the need for manual recharging. Solar panels are great for sunny locations, ensuring your camera stays powered even in remote areas.
Choosing between wired and wireless cameras depends on your specific needs. If you prefer a hassle-free installation, go wireless. For continuous power and recording, wired cameras are your best bet.
Next, we’ll explore the best practices for camera placement to maximize security without infringing on privacy.
Best Practices for Camera Placement
When it comes to installing cameras outside home, where you place them can make all the difference. Let’s explore the best spots and practices for setting up your outdoor security system.
Front Door
Your front door is the most critical spot for a security camera. It’s where 34% of burglars make their entry, so having a camera here is essential. Position the camera 8 to 10 feet high for a clear view. This height helps capture faces and prevents tampering.
Backyard
The backyard is another key area. Burglars often use backyards to sneak into homes undetected. Place your camera high enough to cover the entire yard but low enough to capture details. Avoid placing it in direct sunlight to minimize glare.
Driveway
A driveway camera keeps an eye on vehicles and any activity around them. It’s great for monitoring who comes and goes. Ensure the camera is angled to capture the entire driveway without being triggered by passing traffic.
Avoid Neighbor Privacy
Respecting privacy is crucial. Avoid pointing cameras at your neighbor’s property. In many places, it’s illegal to record areas where people expect privacy. Talk to your neighbors if needed and assure them your cameras are only for your property.
By following these placement tips, you can maximize your home security while respecting privacy laws. Next up, we’ll tackle some frequently asked questions about installing cameras outside your home.
Frequently Asked Questions about Installing Cameras Outside Home
How much does it cost to install outdoor security cameras?
The cost of installing outdoor security cameras can vary widely. On average, prices range from $50 to $400 per camera. Most people spend between $150 and $250 for a good quality camera. For those who prefer professional installation, expect to pay an additional $125 to $450 per camera, which includes labor costs. Professional installation can be beneficial if you’re not confident in your DIY skills or want to ensure optimal placement and setup.
Do all outdoor security cameras have to be plugged in?
Not all outdoor security cameras need to be plugged into a power source. Battery-powered cameras offer the convenience of wireless installation, making them easy to set up without drilling holes for cables. These cameras typically last between one month and a year on a single charge, depending on usage. Solar-powered cameras are another option, using the sun’s energy to keep the camera running. This can be a great choice for sunny locations and reduces the need for frequent battery changes.
Is it legal to install security cameras outside your house?
Installing security cameras outside your house is generally legal, but there are important privacy considerations to keep in mind. You have the right to monitor your property, but avoid pointing cameras at areas where people have a reasonable expectation of privacy, like a neighbor’s window or backyard. Laws can vary by state and municipality, so it’s wise to check local regulations.
In public areas, such as streets or sidewalks, cameras are usually allowed. However, audio recording can be more restricted. Some states require consent from all parties before recording conversations, even on your property. To stay on the safe side, focus on video surveillance and inform visitors that cameras are in use if required by local laws.
By understanding these factors, you can ensure your security setup is both effective and compliant with legal standards.
Conclusion
Installing cameras outside your home is a smart way to improve security and gain peace of mind. Whether you choose to go the DIY route or hire a professional, each option has its own set of benefits and considerations.
DIY installation is often favored for its cost-effectiveness and simplicity, especially with the advent of wireless and battery-powered cameras. These options often come with easy-to-follow instructions and can be set up in just a few minutes. Plus, you have the flexibility to customize the placement and settings to suit your specific needs.
On the other hand, professional installation might be the best choice if you want a seamless setup without the hassle. Professionals can ensure optimal camera placement and handle any technical challenges that may arise. This option is particularly beneficial if you’re dealing with wired cameras, which can require more complex setups.
At Security Camera King, Inc., we pride ourselves on offering a wide range of reliable security camera systems that cater to both DIY enthusiasts and those seeking professional assistance. Our products are designed with user-friendliness in mind, and our industry-leading technical support is always ready to assist you, no matter your level of expertise.
By choosing the right installation method and leveraging high-quality equipment, you can significantly improve the security of your home. Whether you want to deter potential intruders or simply keep an eye on your property, installing outdoor security cameras is a proactive step towards a safer living environment.

