Running cables for security cameras is a crucial part of setting up a reliable surveillance system. Proper cable management ensures a stable connection and neat installation. Here’s a step-by-step guide to help you run cables for your security cameras:
Step 1: Plan Your Cable Route
- Survey the Area: Determine the best path for running cables by surveying the installation site. Consider the location of your cameras, the DVR/NVR, and the power sources.
- Avoid Obstacles: Plan your route to avoid obstacles like doors, windows, and electrical lines. Use walls, ceilings, and conduits to hide and protect the cables.
- Measure Distance: Measure the distance from each camera to the DVR/NVR and power source to ensure you have enough cable length.
Step 2: Choose the Right Cables
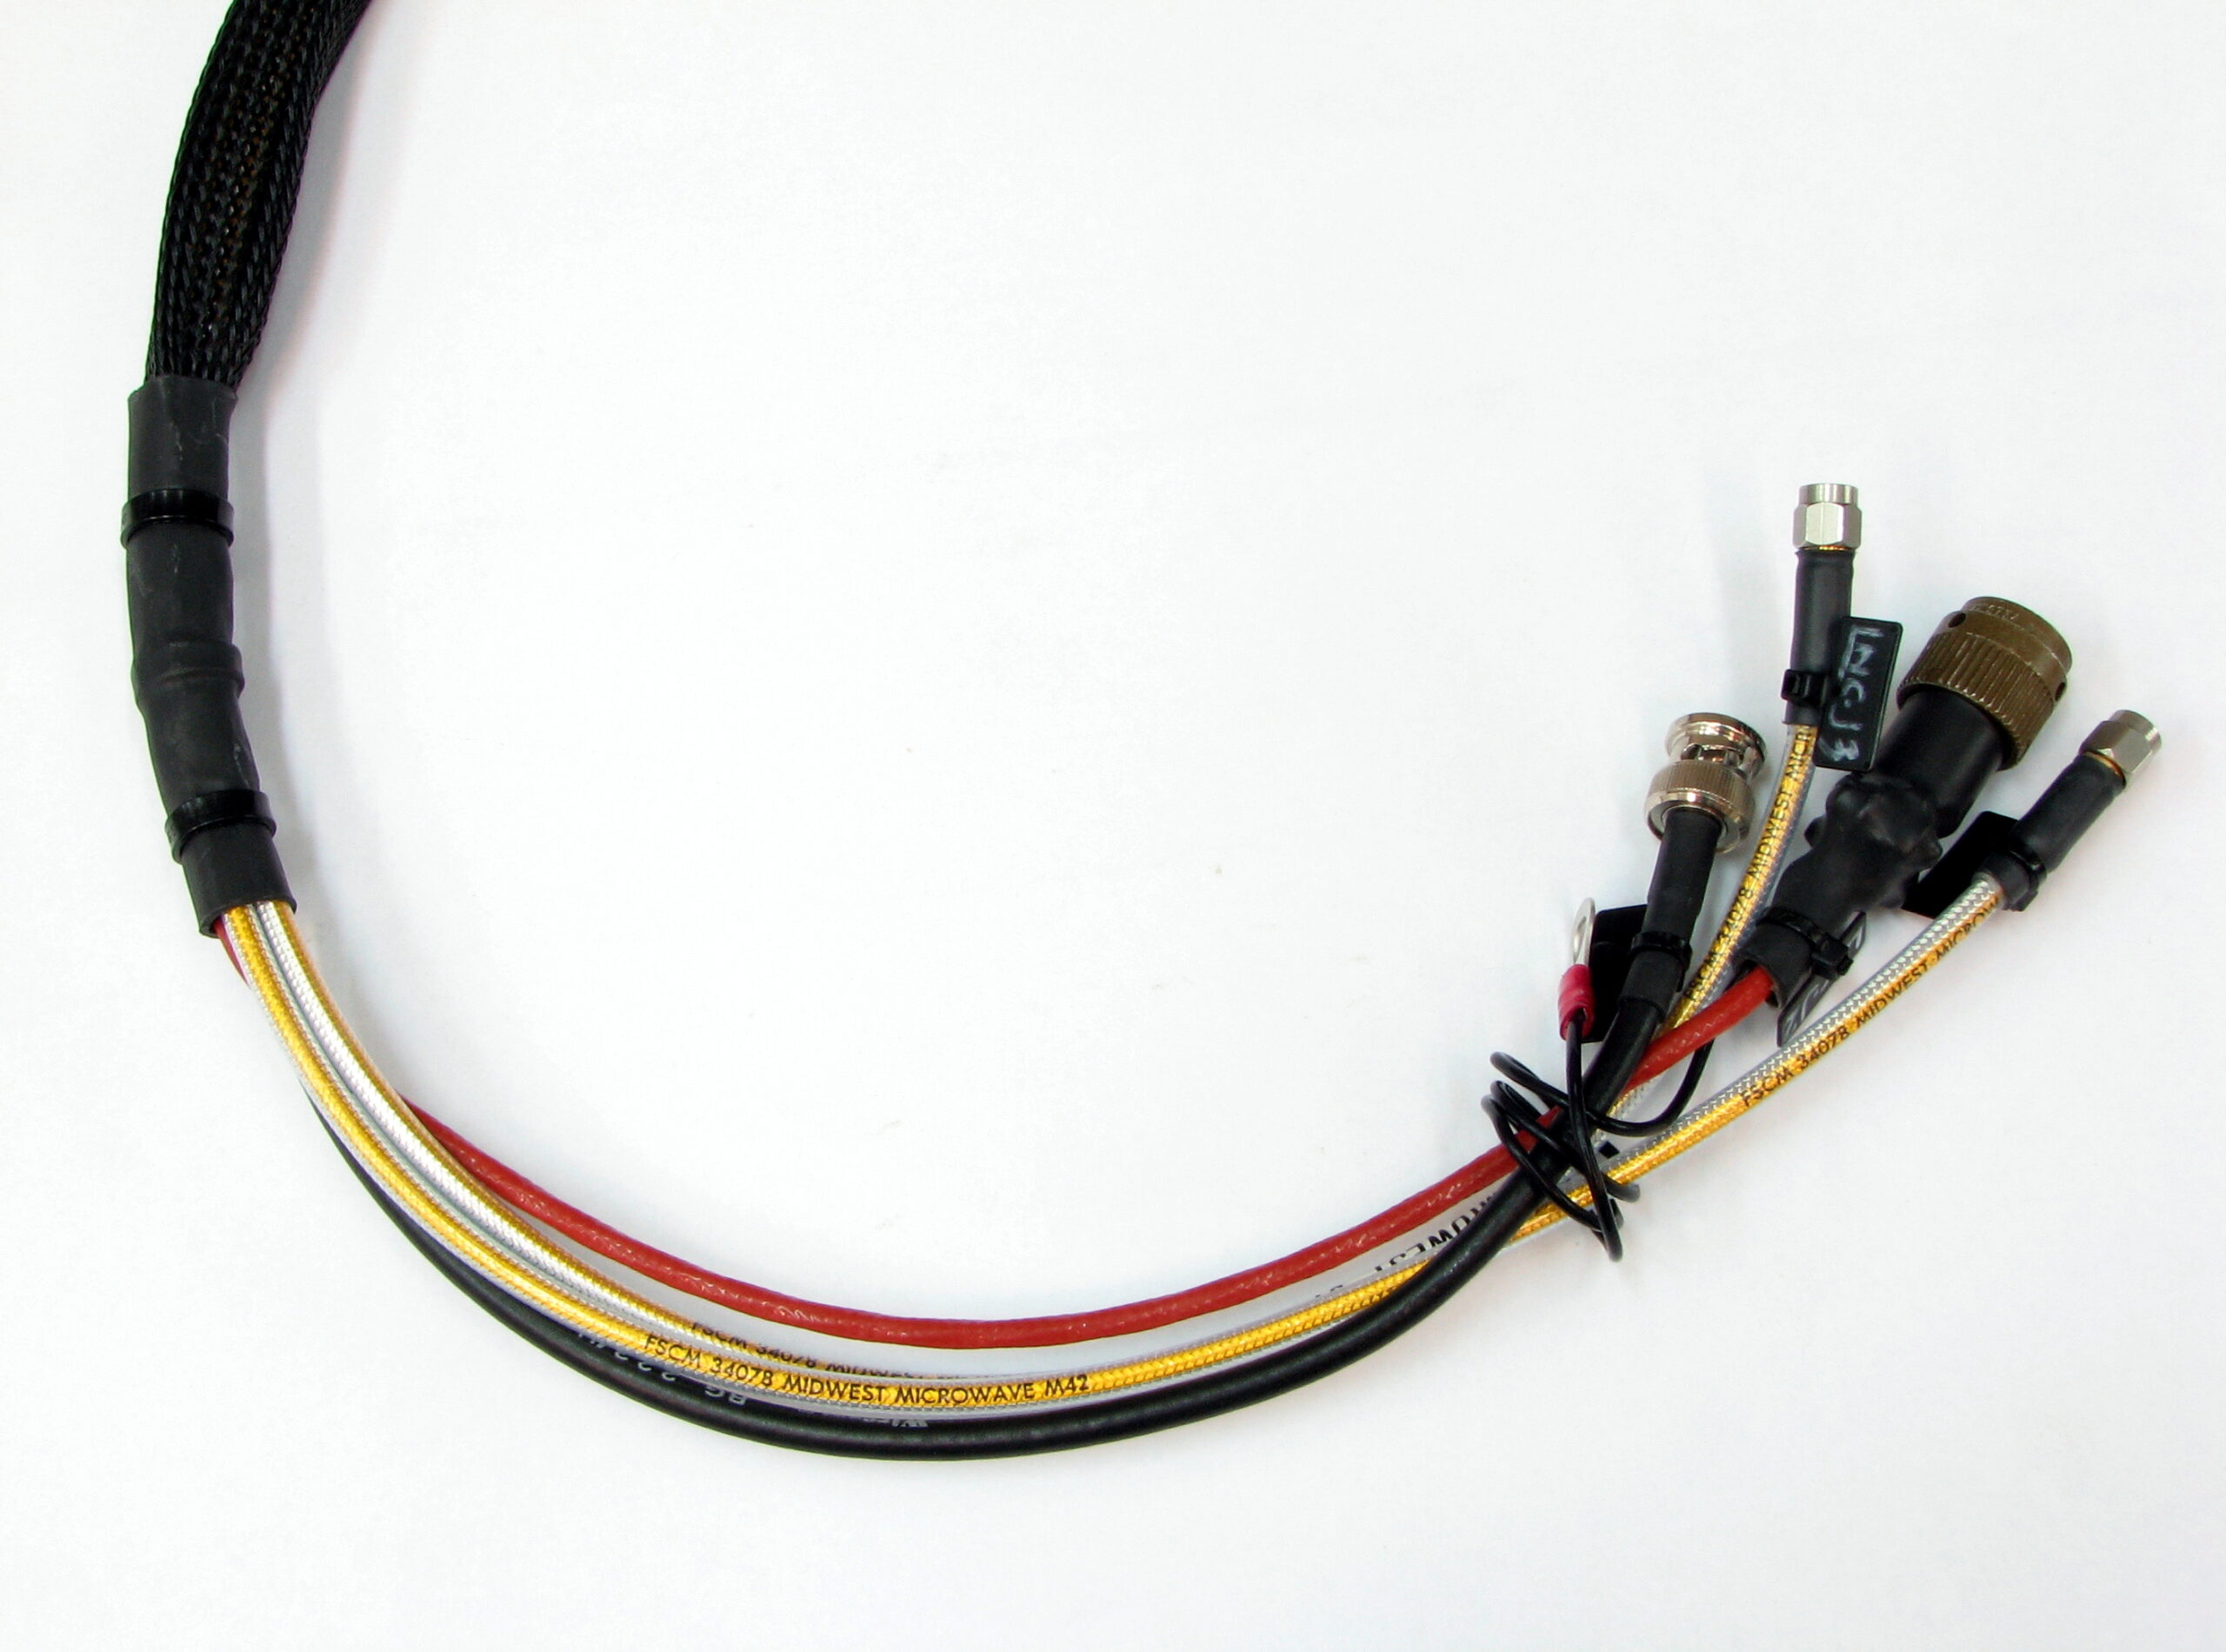
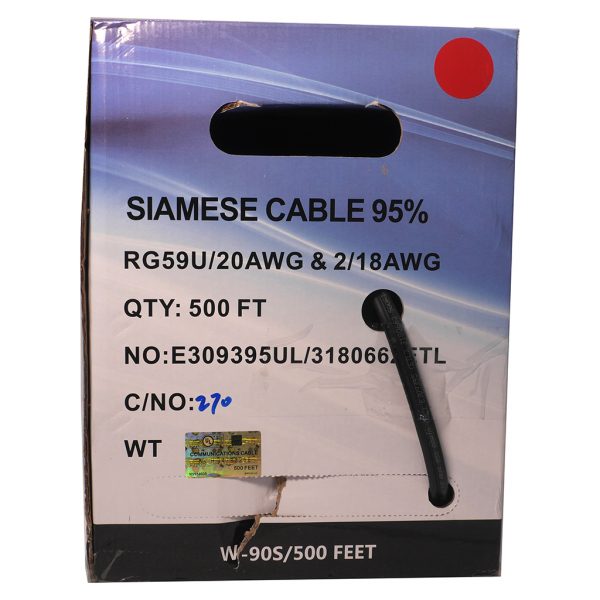
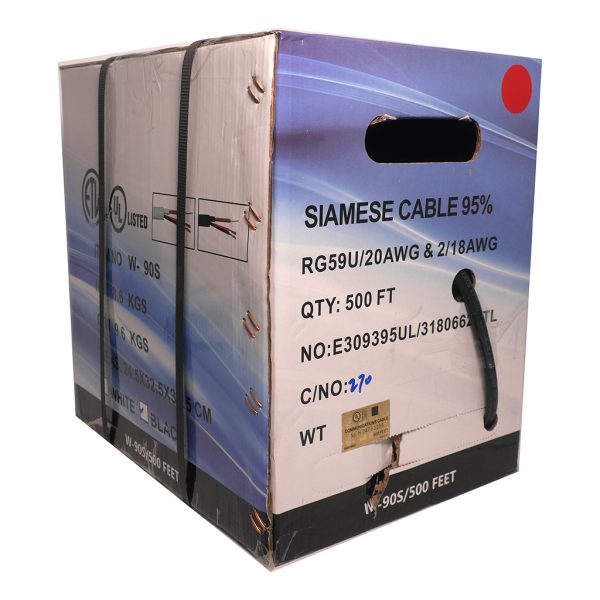
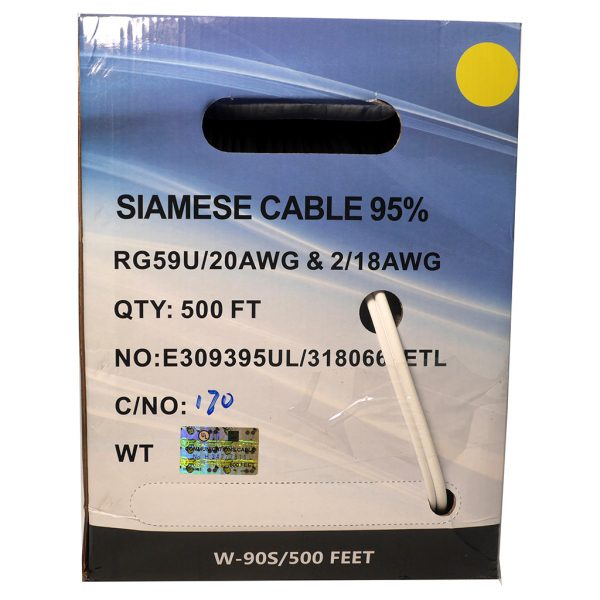
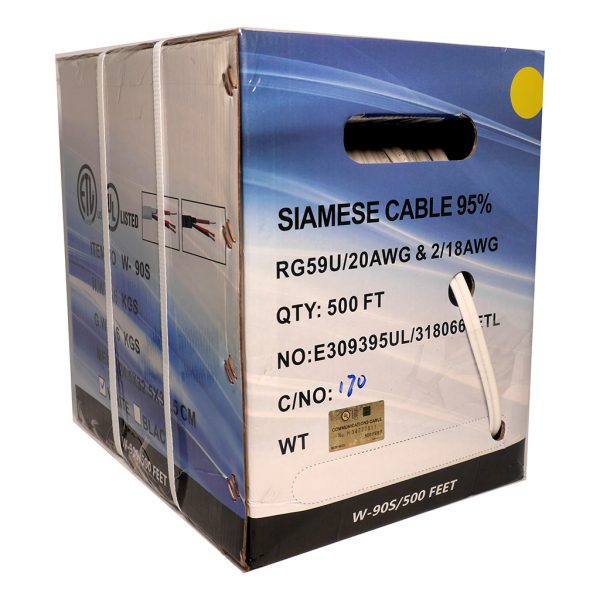
- Coaxial Cable: For analog cameras, use RG59 or RG6 coaxial cables.
- Ethernet Cable: For IP cameras, use Cat5e or Cat6 Ethernet cables, especially if using Power over Ethernet (PoE).
- Power Cable: Depending on your setup, you may need separate power cables or use cables that combine video and power transmission.
Step 3: Gather Necessary Tools and Materials
- Drill and Drill Bits: For making holes in walls or ceilings.
- Fish Tape or Cable Puller: To guide cables through tight spaces and walls.
- Cable Clips and Ties: To secure cables along the route.
- Conduits and Junction Boxes: For protecting and organizing cables.
Step 4: Run the Cables
- Drill Holes: Drill holes in walls or ceilings along your planned route. Ensure the holes are large enough for the cables.
- Feed the Cables: Use fish tape or a cable puller to guide the cables through the drilled holes and tight spaces. Be patient and avoid forcing the cables.
- Pull Through Conduits: If using conduits, feed the cables through them for added protection. Secure conduits with brackets or clips.
- Label the Cables: Label each cable at both ends to identify which camera it connects to. This will make troubleshooting easier.
Step 5: Connect the Cables
- Terminate the Ends: For Ethernet cables, terminate the ends with RJ45 connectors using a crimping tool. For coaxial cables, use BNC connectors.
- Connect to Cameras: Attach the cables to the corresponding ports on the cameras.
- Connect to DVR/NVR: Plug the other ends of the cables into the DVR/NVR.
Step 6: Power the Cameras
- Direct Power Supply: Connect the power cables to a nearby power outlet using the provided adapters.
- Power over Ethernet (PoE): If using PoE, ensure the Ethernet cable is connected to a PoE switch or injector, which provides power and data through the same cable.
Step 7: Secure and Test
- Secure the Cables: Use cable clips and ties to secure the cables along the walls and ceilings. Ensure they are neat and out of the way.
- Test the Connection: Power on the cameras and check the video feed on your monitor or DVR/NVR to ensure everything is working correctly.
Related Products
Frequently Asked Questions (FAQ)
1. What type of cable should I use for security cameras?
- Use RG59 or RG6 coaxial cables for analog cameras and Cat5e or Cat6 Ethernet cables for IP cameras. Consider using combined video and power cables for convenience.
2. How do I protect the cables from damage?
- Use conduits, junction boxes, and cable clips to protect and organize the cables along the route.
3. Can I run power and video through the same cable?
- Yes, you can use cables that combine video and power transmission or use Power over Ethernet (PoE) for IP cameras.
4. How do I ensure a neat installation?
- Plan your cable route carefully, use conduits and cable clips, and label the cables at both ends.
5. What should I do if the video feed is not working?
- Double-check the connections, ensure the cables are securely attached, and verify the power supply.