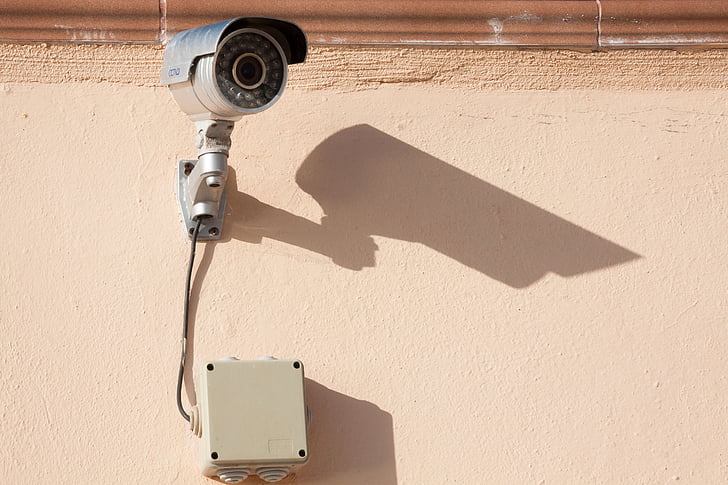
Installing a bullet camera can enhance your home or business security by providing clear, wide-angle views of your property. This guide will walk you through the process step-by-step, ensuring a secure and effective installation.
Tools and Materials Needed:
- Bullet camera
- Mounting bracket
- Screws and wall anchors (appropriate for your wall type)
- Drill and drill bits
- Screwdriver
- Level
- Tape measure
- Cable clips or conduit (for cable management)
- Power adapter (if not using Power over Ethernet)
- Ethernet cable (if not using Power over Ethernet)
- Smartphone or computer (for configuration)
Step-by-Step Installation Process:
- Choose the Location:
- Determine the Best Position: Identify the optimal location for your camera, ensuring it covers the desired area and has a clear view.
- Avoid Obstructions: Make sure there are no obstructions like trees, lights, or other objects that could block the camera’s view.
- Mark the Mounting Holes:
- Use the Template: Most bullet cameras come with a mounting template. Hold the template against the wall or ceiling and mark the screw holes using a pencil.
- Measure and Level: Use a tape measure and level to ensure the marks are aligned correctly.
- Drill the Holes:
- Select the Right Drill Bit: Choose a drill bit that matches the size of the wall anchors.
- Drill the Holes: Carefully drill holes at the marked spots. If you’re drilling into brick or concrete, use a masonry bit.
- Insert Wall Anchors:
- Insert Anchors: Place wall anchors into the drilled holes. Tap them gently with a hammer until they are flush with the wall.
- Attach the Mounting Bracket:
- Align the Bracket: Position the mounting bracket over the wall anchors and align the screw holes.
- Secure with Screws: Use screws to attach the bracket to the wall, ensuring it is tightly secured.
- Connect the Camera to the Mounting Bracket:
- Attach the Camera: Align the camera with the mounting bracket and secure it using the provided screws or locking mechanism.
- Adjust the Angle: Adjust the camera to the desired angle and direction, ensuring it covers the intended area.
- Run the Cables:
- Plan the Cable Route: Determine the best path for the cables, avoiding areas where they could be damaged or tripped over.
- Use Cable Clips or Conduit: Secure the cables using cable clips or conduit to keep them organized and protected.
- Connect Power and Network Cables:
- Power Connection: Connect the power adapter to the camera and plug it into a power outlet. If using Power over Ethernet (PoE), connect the Ethernet cable to the camera and the PoE injector or switch.
- Network Connection: Connect the Ethernet cable to the camera and the router or network switch.
- Configure the Camera:
- Access the Camera’s Web Interface: Open a web browser and enter the camera’s IP address to access its web interface.
- Set Up Network Settings: Configure the network settings, such as IP address, subnet mask, gateway, and DNS.
- Adjust Camera Settings: Adjust settings like resolution, frame rate, motion detection, and recording schedules according to your needs.
- Test the Installation:
- Power On: Turn on the camera and ensure it powers up correctly.
- Check Video Feed: Verify that the camera is transmitting a clear video feed to your monitoring device or recording system.
- Adjust as Needed: Make any necessary adjustments to the camera’s position or settings to optimize performance.
Additional Tips:
- Weatherproofing: If installing an outdoor bullet camera, ensure it is weatherproof and rated for outdoor use.
- Regular Maintenance: Periodically check the camera and its mounting to ensure it remains secure and functional.
- Backup Power: Consider using a UPS (Uninterruptible Power Supply) for continuous operation during power outages.
I am text block. Click edit button to change this text. Lorem ipsum dolor sit amet, consectetur adipiscing elit. Ut elit tellus, luctus nec ullamcorper mattis, pulvinar dapibus leo.
Related Products
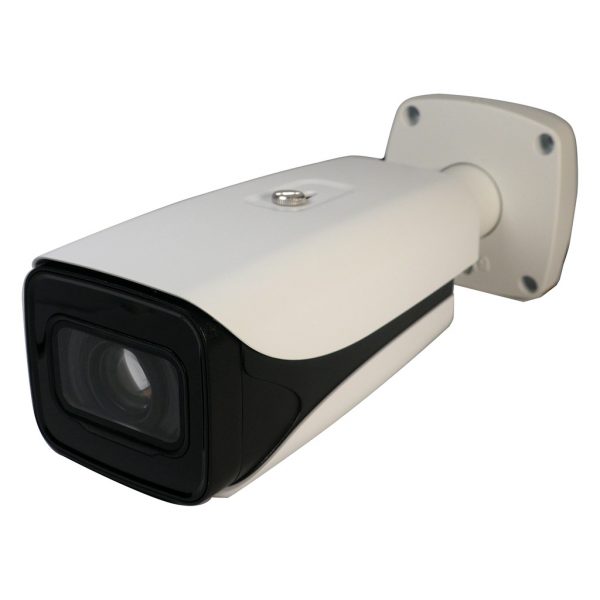
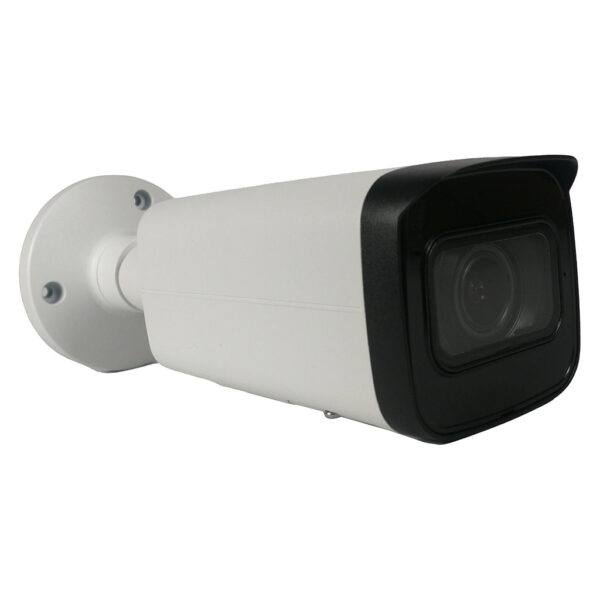
ELITE 2MP IP Motorized Lens Long Range Bullet W/External Mic Audio & EPoE
Specifications
- Lens: 5~60mm Motorized Lens
- Max Resolution: 2MP
- IR Distance: 656 FT
- Impact Protection: IK10
- Audio: Audio Capable With External Mic
- SD Card Compatible: Yes
- Perimeter Protection: Yes
- Object Detection: Yes
- Face Detection: Yes
- Face Recognition: No
- Smart Motion Detection: No
- LPR: No
Save 20%
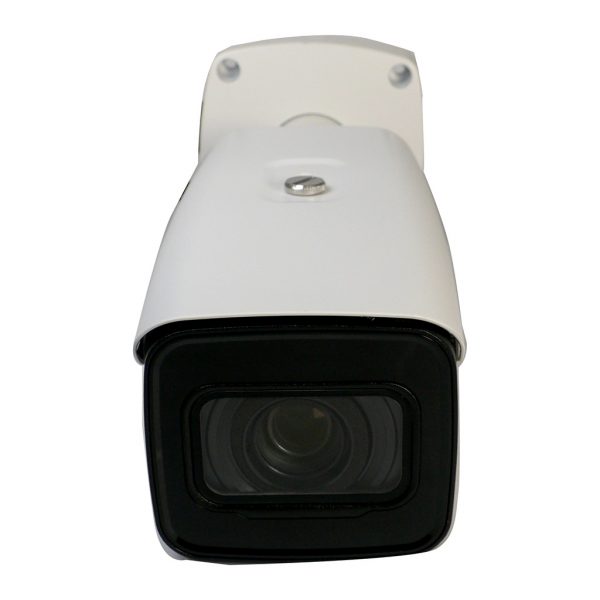
ELITE 4MP IP Motorized Varifocal Bullet W/built Mic & SD Card Slot
Specifications
- Lens: 2.7 mm–13.5 mm Motorized Varifocal Lens
- Max Resolution: 4MP
- IR Distance: 196 feet
- Audio: Built In Mic
- SD Card Compatible: Yes
- Perimeter Protection: Yes
- Object Detection: No
- Face Detection: No
- Face Recognition: No
- Smart Motion Detection: Yes
- LPR: No
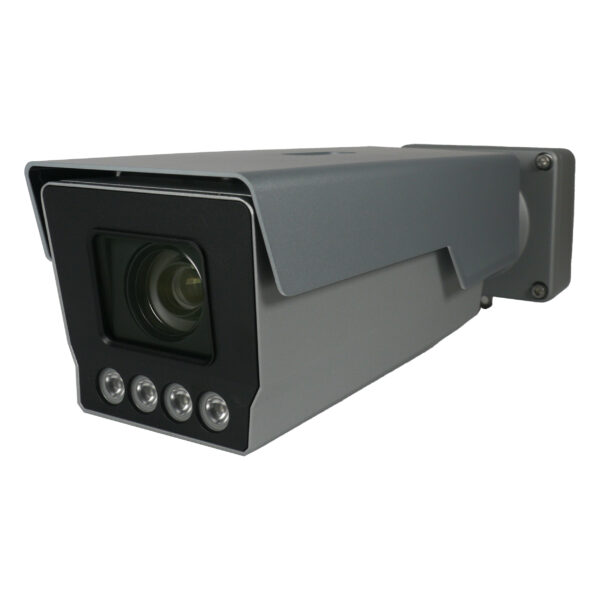
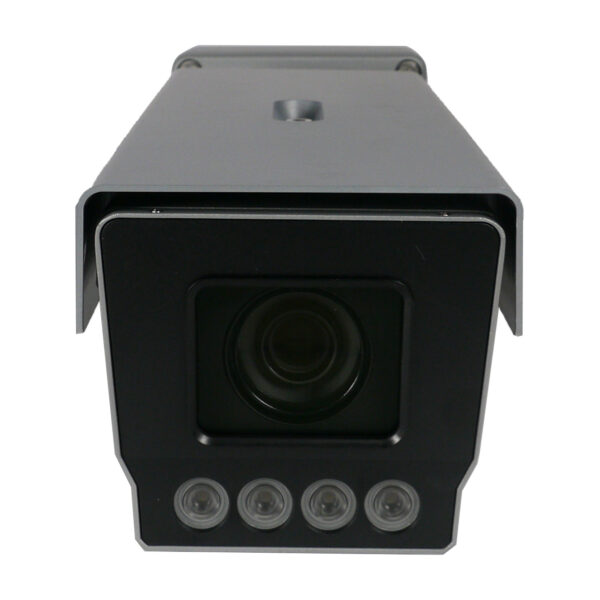
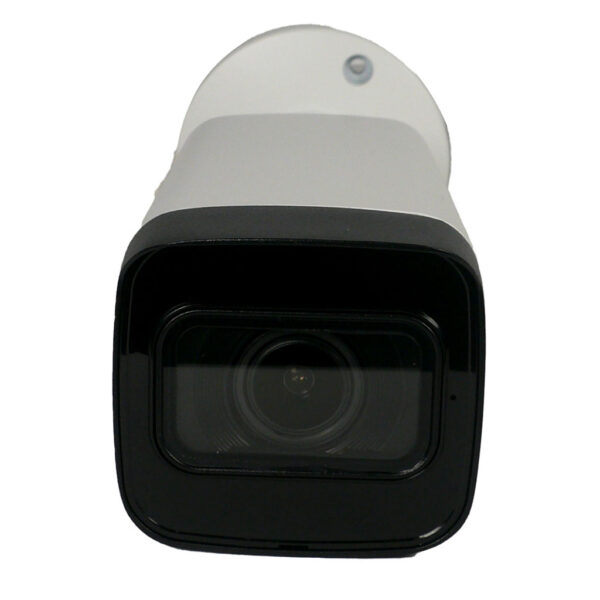
4MP ELITE Series AI Traffic Enforcement Camera
Specifications
- Camera: IPLPR-EL4IR30Z5X-AI
- Lens: 10mm-50mm
- Max Resolution: 4MP
- IR Distance: 98.43 FT
- Impact Protection: IK10
- Audio: Capable With External Mic
- SD Card Compatible: Yes
- Perimeter Protection: Yes
- Object Detection: No
- Face Detection: No
- Face Recognition: No
- Smart Motion Detection: No
- LPR: Yes
Frequently Asked Questions (FAQ)
- Can I install a bullet camera indoors?
- Yes, bullet cameras can be installed indoors as well as outdoors, depending on the camera’s specifications.
- What is the best height to mount a bullet camera?
- The ideal height depends on the area you want to monitor, but typically, mounting the camera at a height of 8-10 feet (2.4-3 meters) provides a good view.
- How do I know if my camera is weatherproof?
- Check the camera’s specifications for an IP rating (e.g., IP65, IP67). Higher ratings indicate better weather resistance.
- Can I use a bullet camera without an Ethernet cable?
- Yes, if your camera supports Wi-Fi, you can connect it wirelessly to your network.
- What should I do if the camera doesn’t power on?
- Check the power connections, ensure the power outlet is working, and verify that the power adapter is functioning properly.