Camera ceiling mounts provide an unobtrusive and secure way to ensure your security camera maintains a clear view of your retail environment. These mounts are essential for maximizing camera coverage while keeping them out of reach and discreetly positioned. But before diving into options, here’s a quick summary to help you choose and install the right setup:
- Types of Mounts: Choose based on camera model, environment setup, and desired viewing angle.
- Installation Tips: Ensure proper support, avoid direct light, and follow manufacturer instructions.
- Benefits: Improved security, optimal surveillance coverage, and aesthetic integration with ceiling design.
In today’s retail world, selecting the right camera ceiling mount and appropriate mounting brackets can make a significant difference in safeguarding your store and enhancing operational efficiency.
I’m Brad Besner, with a robust background in security solutions. At Security Camera King, Inc., we’ve committed years of expertise to ensuring that your camera ceiling mount installations are seamless, secure, and reliable for protecting your business.

Types of Camera Ceiling Mounts
When it comes to installing security cameras, choosing the right camera ceiling mount is crucial. There are several types available, each designed to fit different needs and environments. Let’s explore the most common types: dome camera mounts, swivel mounts, and universal mounts.
Dome Camera Mounts
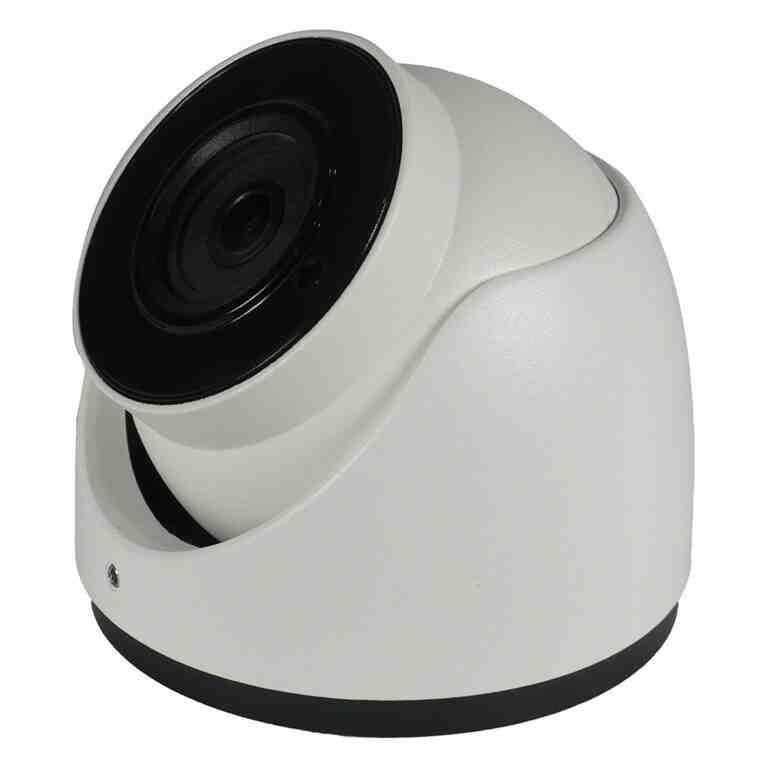
Dome cameras are popular for their sleek design and ability to blend seamlessly into any environment. These mounts are typically used with dome-style cameras, which are enclosed in a transparent dome. The dome provides a protective cover, making the camera less noticeable and more resistant to vandalism.
Dome mounts are ideal for indoor settings like retail stores or offices where a discreet surveillance setup is desired. They offer a wide field of view and are often used in areas that require 360-degree monitoring. This makes them a perfect choice for monitoring large spaces without the need for multiple cameras.
Swivel Mounts
Swivel mounts offer flexibility and versatility. These mounts allow the camera to be adjusted in different directions, providing a customizable field of view. This is particularly useful in dynamic environments where the surveillance needs might change over time.
Swivel mounts are often used in locations where cameras need to cover multiple angles or where the area being monitored is subject to change. For instance, in a warehouse, a swivel mount can be adjusted to focus on different aisles as needed.
Universal Mounts
Universal mounts are designed to be adaptable to various camera models and types. These mounts are particularly useful if you have a mixed setup of different cameras or if you plan to upgrade your cameras in the future.
Universal mounts offer the convenience of compatibility with most camera designs, thanks to their adjustable features. They are ideal for businesses that want a flexible mounting solution without the hassle of changing mounts when upgrading cameras.
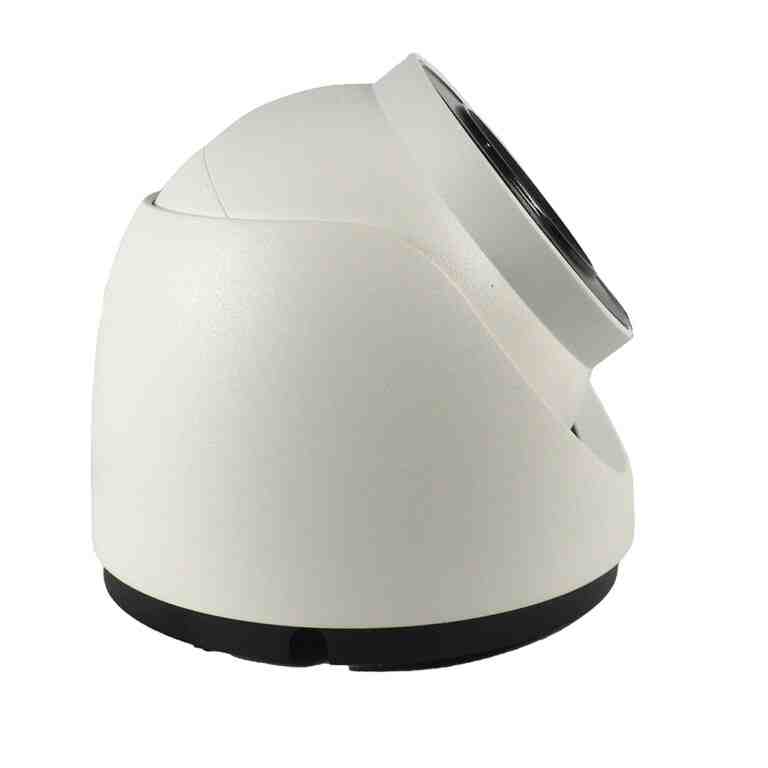
Choosing the right camera ceiling mount involves considering the specific needs of your environment and the type of camera you are using. Whether it’s the sleek design of a dome camera mount, the flexibility of a swivel mount, or the adaptability of a universal mount, each type has its unique advantages.
In the next section, we’ll guide you through the installation process to ensure your camera setup is secure and efficient.
How to Install a Camera Ceiling Mount
Installing a camera ceiling mount might seem daunting, but with the right tools and steps, it can be a straightforward process. Here’s a simple guide to help you install your camera securely and efficiently.
Installation Steps
-
Choose the Right Location: Before drilling, decide where you want to mount your camera. Consider areas that offer the best field of view while being discreet. Avoid locations with direct sunlight or where the camera might be easily tampered with.
-
Gather Your Tools: You’ll need a drill, screws, anchors, and a screwdriver. Make sure you have the correct drill bit size for your screws and anchors.
-
Mark the Drill Holes: Hold the mount bracket against the ceiling and mark the spots where you’ll drill holes. This ensures your mount is aligned correctly.
-
Drill the Holes: Use the drill to create holes at the marked spots. If you’re installing on a ceiling tile, be gentle to avoid cracking or breaking the tile.
-
Install Anchors: If the ceiling is made of drywall or another soft material, insert wall anchors into the holes for added support.
-
Attach the Mount: Secure the mount to the ceiling using screws. Ensure it’s tightly fastened to avoid any wobbling.
-
Connect the Cabling: Run the necessary cables through the mount. If you’re installing a wired camera, ensure the cables are long enough to reach your power source and network connection. Tidy up any excess cabling to keep the installation neat.
-
Mount the Camera: Attach the camera to the mount. Make sure it’s securely fastened and positioned correctly for optimal surveillance.
Tips for a Smooth Installation
-
Check Your Wi-Fi Signal: If using a Wi-Fi camera, ensure the signal is strong at the installation point. A weak signal can affect camera performance.
-
Test the View: Before finalizing the installation, check the camera’s view through its app or interface. Adjust the angle if necessary to cover the desired area.
-
Ensure Stability: The mount should be stable and not wobble. A shaky mount can lead to blurred footage, especially in windy conditions or high-traffic areas.
By following these steps, you’ll have a securely mounted camera that provides reliable surveillance. Proper installation not only improves security but also ensures your camera performs at its best.
Next, we’ll explore the benefits of using a camera ceiling mount, including how they can offer a 360-degree view and improve motion detection.
Benefits of Using a Camera Ceiling Mount
Camera ceiling mounts offer numerous advantages that improve both security and surveillance quality. Let’s explore the key benefits that make ceiling mounts a popular choice for many.
360-Degree View
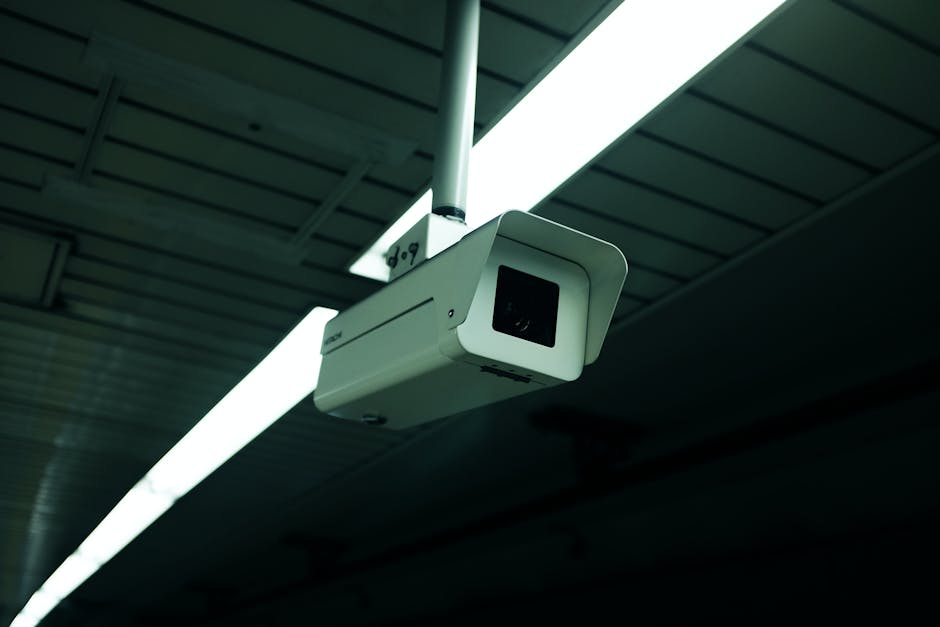
One of the standout features of a ceiling-mounted camera is its ability to provide a 360-degree view. This wide coverage is especially beneficial in large spaces like warehouses, retail stores, or open-plan offices. With the right mount, your camera can easily swivel or rotate, ensuring no blind spots are left uncovered. This comprehensive view not only improves security but also reduces the number of cameras needed to monitor a space.
Improved Motion Detection
Ceiling mounts can significantly improve a camera’s motion detection capabilities. By positioning the camera overhead, it can better detect movement across a broader area. This is particularly useful in high-traffic zones where timely alerts and recordings are crucial. The liftd position helps in minimizing obstructions, leading to more accurate motion detection and fewer false alarms.

Optimal Field of View
A strategically placed ceiling mount can maximize a camera’s field of view. This means you can cover more ground with fewer cameras, making it a cost-effective solution for comprehensive surveillance. Whether it’s monitoring a hallway, entrance, or large room, a ceiling-mounted camera provides an unobstructed view that is difficult to achieve with wall-mounted options.
Additional Benefits
-
Discreet Monitoring: Ceiling mounts allow cameras to blend seamlessly into the environment, making them less noticeable and less likely to be tampered with.
-
Improved Aesthetics: For those concerned with interior design, ceiling mounts offer a cleaner look, keeping walls free of bulky equipment.
-
Flexibility: With options like dome cameras and universal mounts, there’s a solution for every need, whether it’s a fixed view or a versatile, adjustable setup.
By leveraging these benefits, ceiling-mounted cameras not only improve security but also contribute to a more efficient and effective surveillance system. Next, we’ll address some frequently asked questions about camera ceiling mounts, including installation tips and compatibility with different camera types.
Frequently Asked Questions about Camera Ceiling Mounts
How to Install a Dome Camera in a Ceiling Tile
Installing a dome camera in a ceiling tile can seem daunting, but it’s quite straightforward with the right steps. Here’s a simple guide to help you out:
-
Choose the Location: Select the spot where you want to install the camera. Ensure it provides the best field of view for your needs.
-
Prepare the Ceiling Tile: Remove the ceiling tile and mark the spot where the camera will be mounted. Use a template if available.
-
Drill Holes: Carefully drill the necessary holes for the screws and cabling. Make sure the holes align with the camera mount.
-
Install the Mount: Attach the camera mount to the ceiling tile using screws. Ensure it’s secure and stable.
-
Run the Cables: Feed the camera cables through the drilled holes and connect them to the camera.
-
Mount the Camera: Attach the dome camera to the mount. Adjust the angle to ensure optimal coverage.
-
Reinstall the Ceiling Tile: Place the tile back into the ceiling grid, ensuring everything is aligned and secure.
By following these steps, you can effectively install a dome camera in a ceiling tile, providing a discreet and comprehensive surveillance solution.
Can Ring Cameras Be Ceiling Mounted?
Yes, Ring cameras can be ceiling mounted, but there are a few things to consider:
-
Swivel Mount: Using a swivel mount can provide the flexibility needed to adjust the camera’s angle for optimal coverage. This is especially useful if you need to monitor a specific area or want the ability to change the camera’s view.
-
Ceiling Beam: Ensure the ceiling is strong enough to support the camera. Mounting on a ceiling beam or joist provides additional stability, reducing the risk of the camera falling or becoming misaligned.
With these considerations, you can successfully ceiling mount a Ring camera to improve your security setup.
What Are the Different Types of Ceiling Mounts?
Ceiling mounts come in various styles to suit different needs and environments. Here are the most common types:
-
Downrod Bracket: This type of mount uses a rod to lower the camera from the ceiling, ideal for high ceilings where a closer view is needed.
-
Flush Mount Bracket: A flush mount keeps the camera close to the ceiling, offering a sleek and unobtrusive look. It’s perfect for rooms with standard ceiling heights.
-
Angled Mount Bracket: These brackets allow the camera to be tilted at an angle, providing better coverage of specific areas, such as corners or along walls.
Each type of mount has its advantages, so choosing the right one depends on your specific surveillance needs and the layout of the space.
By understanding these options, you’ll be better equipped to select the perfect ceiling mount for your camera system.
Conclusion
At Security Camera King, Inc., our mission is to provide reliable security solutions that meet your specific needs. From camera ceiling mounts to complete surveillance systems, our products are designed with quality and performance in mind.
Our commitment to customer service sets us apart. We understand that installing and maintaining security systems can be challenging. That’s why we offer industry-leading technical support to guide you every step of the way. Whether you’re a DIY enthusiast or prefer professional installation, our team is here to ensure your setup is smooth and effective.
Choosing the right camera ceiling mount is essential for optimal security coverage. With our range of mounts, you can achieve the perfect angle and field of view for your space, ensuring comprehensive surveillance.
Explore our surveillance camera mounting brackets to find the perfect solution for your needs. With Security Camera King, Inc., you can trust that you’re getting top-notch products backed by exceptional support. Your security is our priority, and we’re here to help you protect what matters most.

