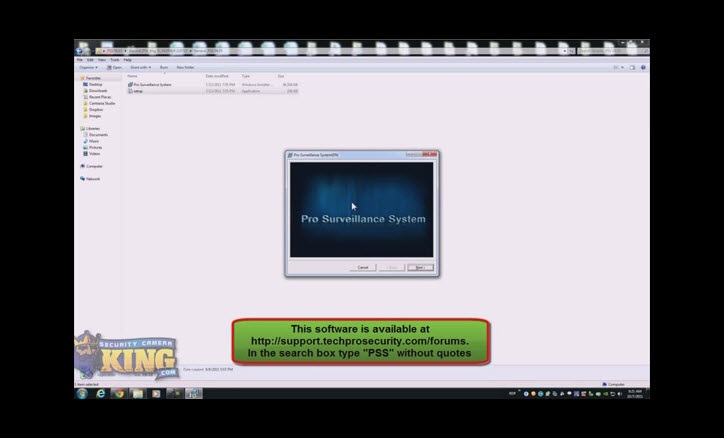
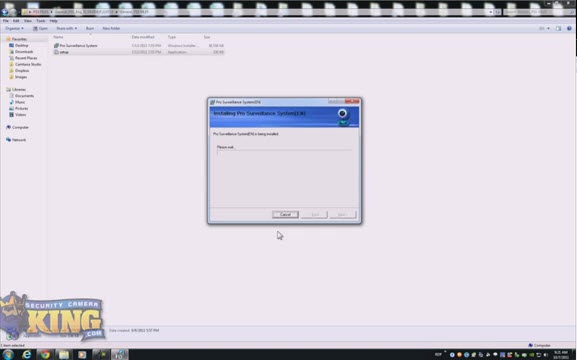
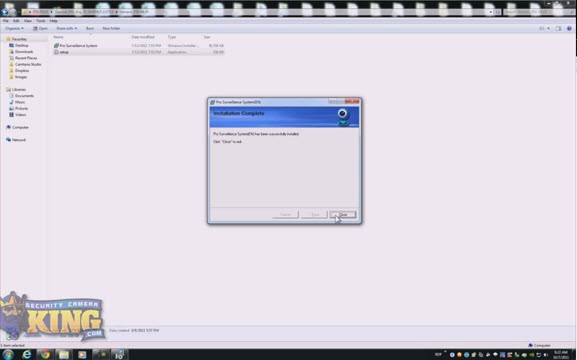
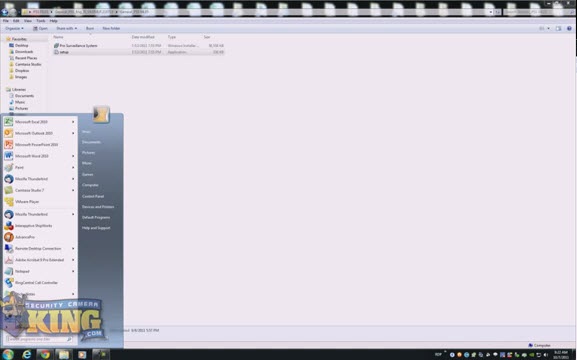
This is video demonstration of our video management software and I’m going to be showing you how to install the software, how to connect to your DVRs, how to playback your cameras and so on. So to install the software is very straightforward you will see these two files and you will choose the “Setup” to initiate the software to install the software on your computer, that’s basically it ; pretty straightforward.
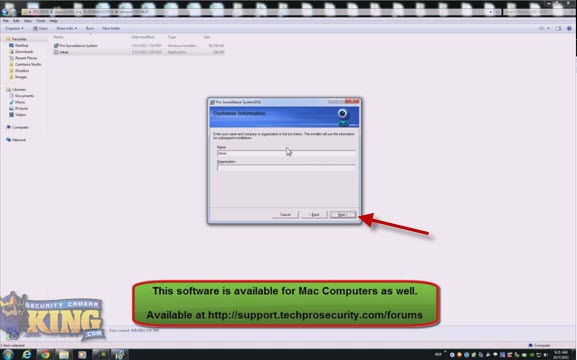
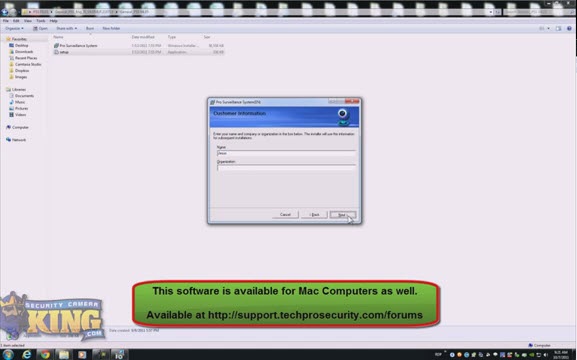
and now you can put some information about your name and organization:
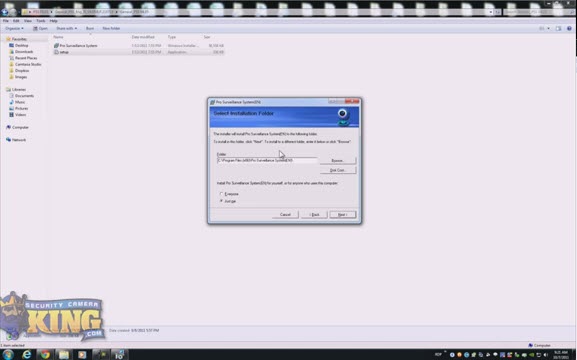
Click Next and you’ll actually have the privilege to choose where you want to install the software or if you want all of your users on your computer to use this software…
In my case I have a secondary hard drive where I store all my stuff so I’m going to change the path. I’ll click next:
next to install.
This software allows you to connect to up to 20 DVRs and you can basically manage your DVRs set up features, set up matrix and so on. Its a very powerful software; it is a brand new version of PSS it supports up to 3 screens so you can have your main screen and then 2 monitors as I do on my computer. You can put certain cameras on certain monitors so you can monitor a lot of DVRs at one time. So once this is complete you click close.
Then you can go to your start menu and open PSS.
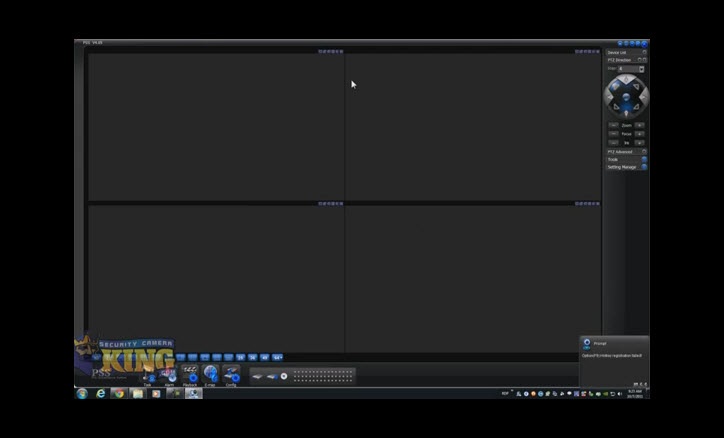
And here you will see that you have to provide a username and password. The default is admin and admin. On some of the configurations of PSS you can remove this screen. It will open up the software without asking you the user and the password. So click Login and this is the software interface.
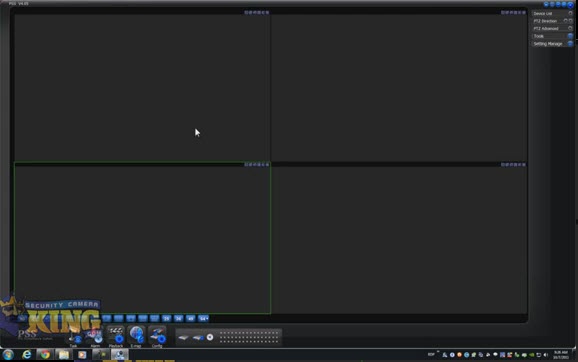
You will see here on your right side you have all of the configurations, such as PTZ directions, you can move PTZ cameras you have the device list in this section you will be able to see all the DVRs you have connected through PSS. Also you will have the option to set up pre-sets to move the camera and so on. Some of the tools that this software has, this software allows you to record or set up a schedule on your software and allows you to record based on day and time and allows you to store on your computer footage from the particular DVR that you want. For example if you have 3 DVRs and you want to store all of the footage from that particular DVR you can set up a record plan and you will setup basically which camera you want to back up to your computer, then based on a schedule, PSS software will start recording all the footage contained on that particular DVR to your computer. You can set up color configurations, I’m not going to go into detail with this; the software has tons and tons of features that you can set. I am just going to talk about the more important features.
Also you will see the settings manager this is where you setup everything on the software itself. A scheme task which is a setting you will set to open three different cameras at once. Also you can see by default the software is going to open up in 4 window view. You can change it here. This software supports up to 64 cameras simultaneously. We recommend for you to have a powerful computer if you are planning to stream 64 cameras, because it requires a lot of video resources. My configuration on my computer I have three monitors, it’s an i5 computer, so it’s a strong computer, a powerful computer. Also you will see this HD button. While you’re viewing a camera you can change the quality of a camera. This is only for viewing and not for recording. Its showing here low quality and you can click high quality and the picture will improve.
Here you can change the real-time fluid level, how fluid it will be. Here you have a full screen for a particular channel for the lay out that you have. For example if you have 64 cameras the screen will enlarge slightly by temporarily moving things on the screen.
The Escape button returns the screen to normal.
Also you will see here this is the button that you will click that will start the task you created for all the DVRs.
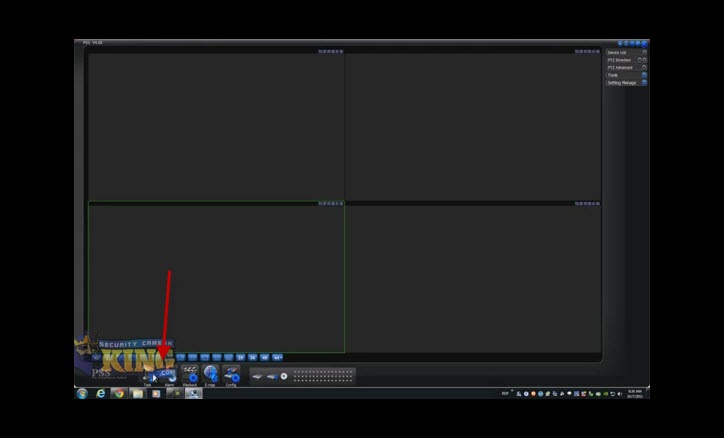
Also you can pause it there too. You have alarm configurations and playback.
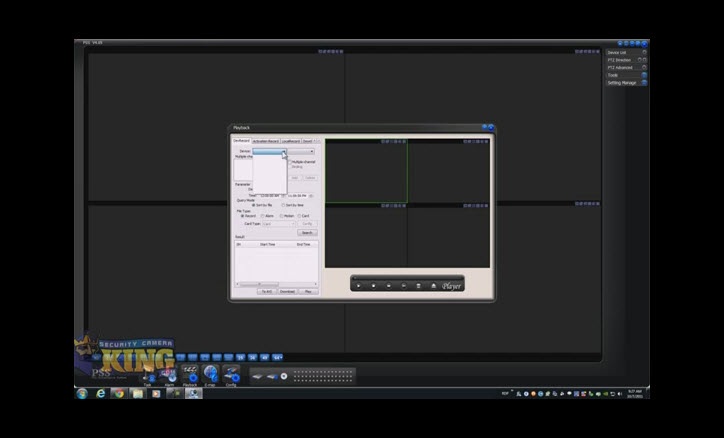
Here when you click playback you have all of the DVRs that you have set with PSS. Here you will choose the channels that you want from that particular DVR. If you wanted to play multiple channels, and this binding option is to synchronize all of the footage, if the DVR has footage at that particular time it will synchronize the footage of up to four cameras simultaneously.
Here you will see some more tabs. The local record to see if you have any local recording on your computer. You can back up on the fly to your hard drive on your computer. The downloads I have here will show you the files. The files are AVIs. Once you click in there and once you choose your file, the software will then convert the .vav extension which is the proprietary file for our DVRs that gets converted to an AVI so it can be played on just about any computer.
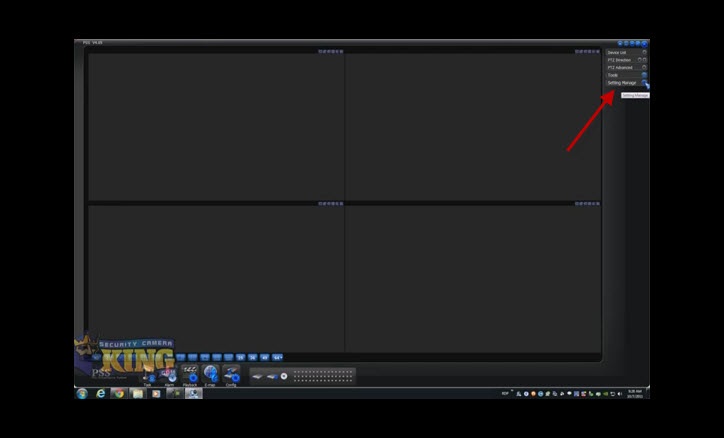
So let’s start by adding some DVRs; for this demonstration I’m going to add 2 DVRs. To start, go to settings manage and click that little icon there:
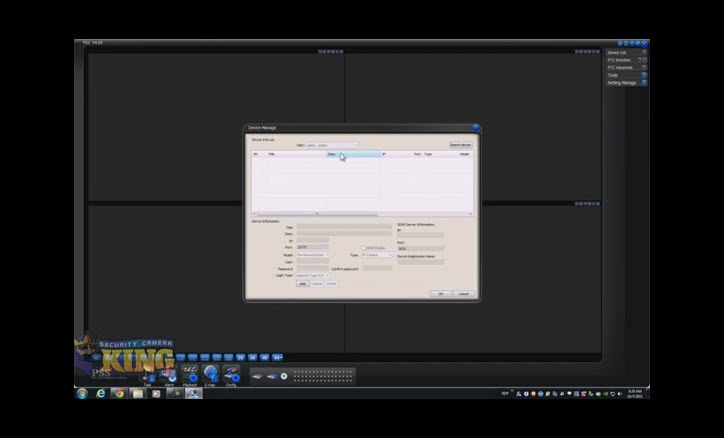
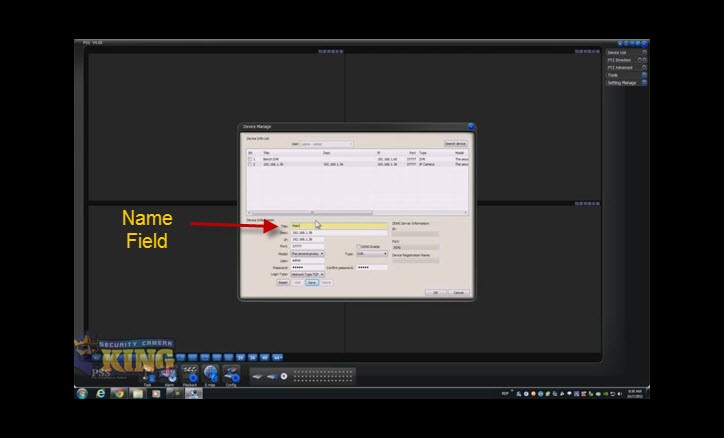
go to device manage and here is the interface for you to add the DVRs.
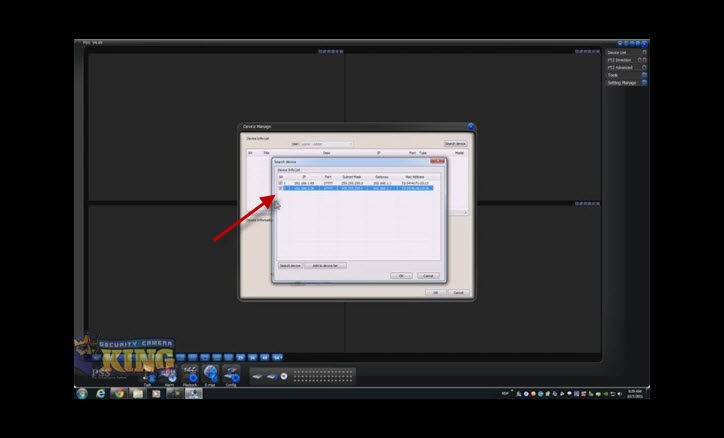
In this version we add the search device; this will search for any DVR or network device(s) on your network. In this case it will be DVR’s only. I’m going to click there, and there you go. On my network right now there are two DVRs that I can connect to. It’s very straight forward to connect to the DVRs. It is very easy; just basically click or check the little box right there.
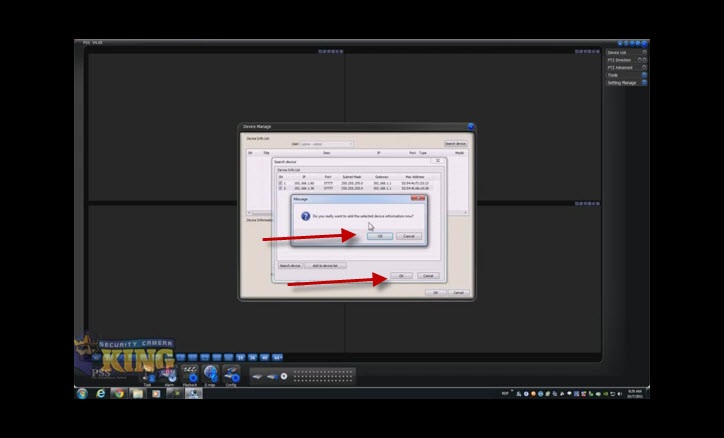
You’re basically telling the software that these are the two devices that I want to add to my device list. It’s going to say do you really want to add those devices? You click OK then click OK again.
Now from here you can change the title of the DVR so you can identify the DVR. The way to do this is like this: Check one of the DVRs or one of the units and click update, this menu will be highlighted then you change the name, you can put, in this case I’m going to put bench DVR, the description can be what ever you want to put in there and automatically PSS knows that it is a DVR if it was an IP camera PSS would know that. You can see we put a username and password (admin by default but you can use what you want) and then you just click save.
Now I’m going to do the other one and change its name to main DVR then I can click save and then click ok.
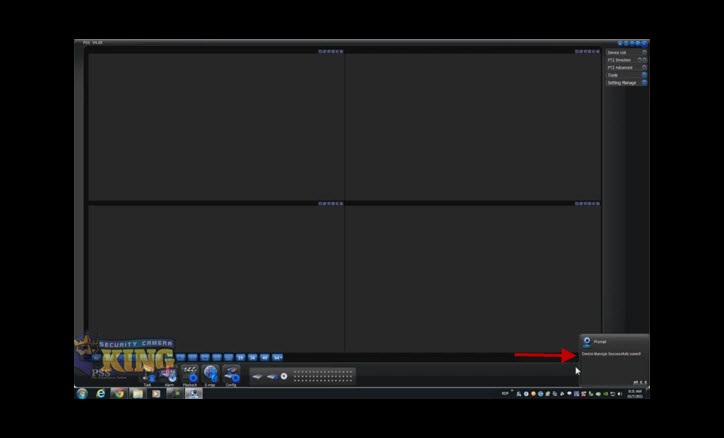
Right here it says my configuration have been saved successfully.
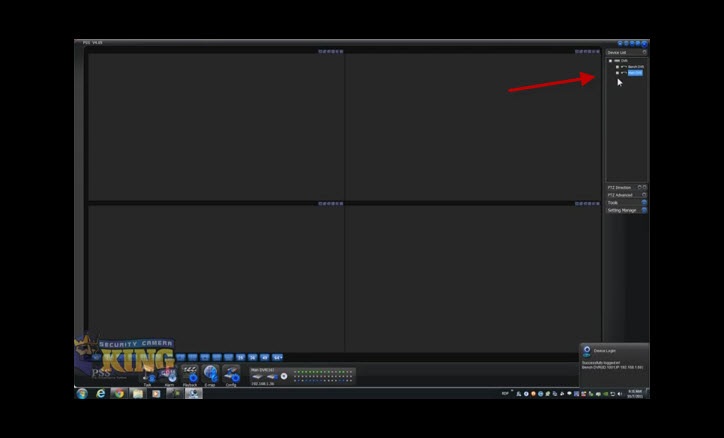
So right now if I go to my device list you’ll see my two DVRs that I just added. Right now they are not logged in by themselves; they are off. So you can right click on it and login or you can just double click on the name and it will log in.
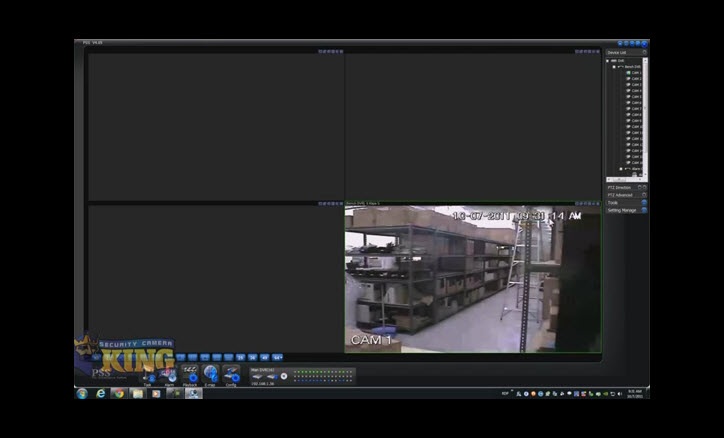
Here you see these two plus signs. When you click on it, it will show you all the cameras that DVR has. Here are your alarm outputs. You can double click on each of the cameras or drag them to the windows and they will open up and play on that window. Another thing you can do is, I’m going to be adding two cameras from this DVR and the other DVR so I’m going to change the layout to let’s say a 9 channel view. And I’m going to add some cameras from each DVR. The coolest thing with this software is you can connect with this software internally or you can connect to a DVR internally on your network or remotely. So if you have a DVR and you know its location when you are away from your network you can put it in and connect. You cannot use the search device but you can put in the DVR’s address manually.
I’m going to start by adding a couple of cameras if you right click on each camera you will see they have a sub menu. Here you can play back you can open the camera using the mainstream configurations or the extra stream configuration. We recommend you use the extra stream because once you start adding all these cameras with PSS, bandwidth is going to decrease, because that’s the stream of video that you are pulling from your network. Internally it’s ok, so I’m going to choose mainstream. Double click on the window and double click on the camera that you want and it will open up in that window.
I’m going to add more cameras from the other DVR. You see every time that you add a camera; the software will automatically jump to the next window. So if you are doing a series of cameras you don’t have to select each window every time you want to add a camera. So I’m going to keep adding cameras.
I can change the view if I want to for example a 6 window view. From here I can drag any camera I want to a different location by dragging (left click held down while moving the mouse) with the mouse to whatever location I want. As you can see its very simple and even fun to use.
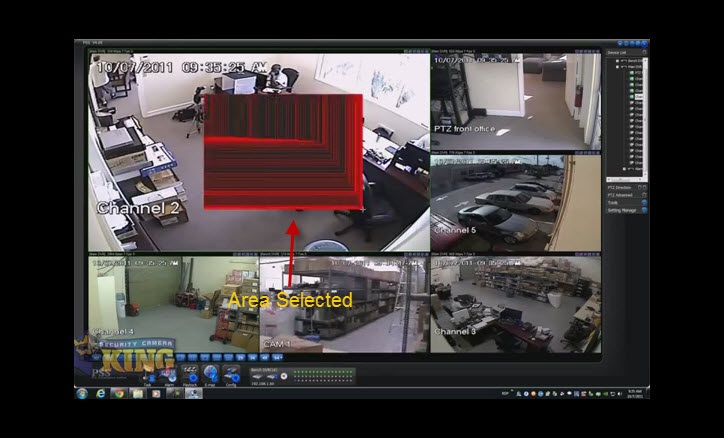
Each window has menus. Here you can go ahead and look for record, it will start recording. Here for example this particular camera has audio. So as you see here each window has menus here and here you can go ahead and start a local report. Basically it’s going to start recording this particular footage into your drive that is the hard drive or C: drive on your computer. Right now it is activated and it will continue to record until I deactivate this. I can also select a particular area and maximize it.
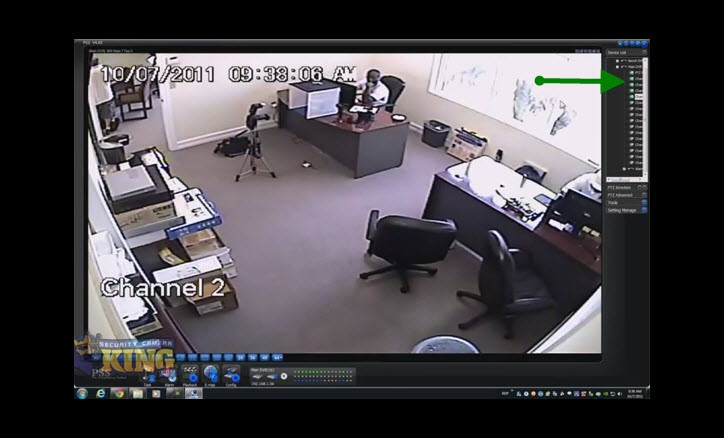
Here you will see that it will go full screen and if I click it again it will go back to the original screen,
Here I can take a snapshot if I want to. Normally everything is stored on the root drive or the C: drive called PSS. Right here is the snapshot I just took a few seconds ago. It’s very cool this software. Also right here is where I activated the DVR to start recording. This file can be played from PSS or on our player which is available at support.techprosecurity.com and it’s also included on the DVD or CD that comes with the DVR.
As you can see here I have a Pan Tilt Zoom camera and I can control the camera. Here I can move the camera up and down, I can change the speed of how fast the camera moves. I can zoom in if I want or zoom out. Focus and Iris is dependent on the camera and this particular camera does not support it, but there are some that do.
Let’s go back to the six view window. As I said before you can take snapshots and you can listen to audio. Let’s go back to this camera to show you some audio (if there is any present). Every time you click one of these features on the right they turn green which means they have been turned on.
Double click again to turn off.
Let’s go back to the original 6 screen layout. Double click the screen to return to the main screen. Here I will show you the HD Video or the HD button. Right now this is the channel that is selected. Right now it is on low quality but when I switch it to High quality it makes things sharper.
Let’s say I want to open this camera based on the task that I make. I can create a task from here. Let’s say these are the cameras that are important to me and I want them to open automatically or based on the task that I make. That’s very easy to do. Go to the settings manage, go to scheme task and configuration, and this main window will open and then click New. Put whatever name is intuitive to you . I can put DVRtestscheme. The window option is going to be the amount of cameras that task is going to have or basically the number of camera you have in this particular view. In this demonstration I have 6 so I am gonna choose 6 window view. Next is the stream type. This is very important because that’s how the cameras are going to the live preview or stream of the camera that are playing live right now. As you remember I opened these cameras using the mainstream because I just double clicked on it. If I right click on the camera and I open the camera in the extra stream and I configure the stream task, you will see a notification right here. It will pop up when you execute the scheme. It’s going to say that the main frame has changed. And the reason why is because you opened the camera here by right clicking the camera you choose extra stream which is a lower stream basically, and you’re setting your scheme task using the main stream. That’s going to make this software change its stream because the way you put the cameras here. Because I originally used mainstream I’m going to leave it like that. So I click ok and then I click OK again and it says scheme task configuration successful and as you go here you will see the scheme task right there but if I click on it nothing is going to show up because I haven’t added these cameras to the task. Once you have your cameras you right click on each of the windows it doesn’t matter which window and it will say add all windows to a task. If you try this without having at least one task nothing will show up. Now I’m going to close this by clicking the X on each window. Then I’m going to execute the task I just created. If I change this to four channel view and I click the task, it will automatically change the layout to put all 6 cameras here. Then later I can change it to whatever I want.
If you click an “x” to close out a camera it will come back. Why? Because the task is running. You cannot close a camera that is part of a task without having it come back eventually.
Another great feature that you will find here in this software is let’s say I wanted to stop the task and play back a particular camera. Basically I just choose the camera I want and right click and it plays back . This window will standout with the area around it grayed out. The rest of the configurations options are not enabled because we are doing this with a single camera. Let’s say I want to choose from 9 AM to 10 AM and then just click search. You see will find this footage, here you can choose what channel this will be playing on. From here I can zoom in if I want to, I just have to make sure i click the local zoom. You click and drag the mouse to zoom in. To return to original just click the local zoom. When I make a local zoom with a small square the zoom is going to be much bigger. If I make the square larger the zoom is going to be less. So from here I can basically convert to AVI and so on. I’m going to stop it and then convert to AVI.
You’ll need to choose a file and by default it will download the file to the C: drive.
To finalize this video I am going to show you something that is going to be very important to you if you want the software to basically work by itself or log into your cameras by itself and all that. By default this is the setting for the options of the software. I’m not going to go over every single one because there are too many but I am going to go over the important ones.
Log-in all the devices--this will log in all the devices as soon as you turn it on. Also you will see auto pop up–alarm information dialog, here it will show you any popups about alarms or issues such as the hard drive is full, etc.
Auto logging PSS – If you check the option, PSS will not ask you for a username and password when you open it for the first time. Verify password-when you close PSS it’s going to ask you for a password. If you uncheck that option, when you close the program it will still show a field for a password but PSS fills it automatically.
Auto start with a record plan – Every time PSS opens it will start that record plan automatically. This option is good if you want PSS to run every time the computer boots up.
You see that I have this 6 channel view and I want it to save the last monitors status. When you click on it, it will start the computer the way you left it the last time (for example you had a 64 camera view and other configurations).
I hope this has been informative; thank you for watching.

