The following article will assist you in setting up Sibell Mobile on your mobile device. It is important to note that we already have ports forwarded and are using a DDNS service in this example. This will require additional steps, so please contact us for additional support for assistance with that.
Setting Up Sibell Mobile on Mobile Device
- Once you open up the app, you will be brought to a screen that says Live at the top and has a person icon in the upper-left corner. Go ahead and select the person icon. Then select Server List in the menu that shows up. In Server List, select the plus sign (+) icon in the upper-right corner. Once you have selected that icon, a screen that says Add Device should show up.
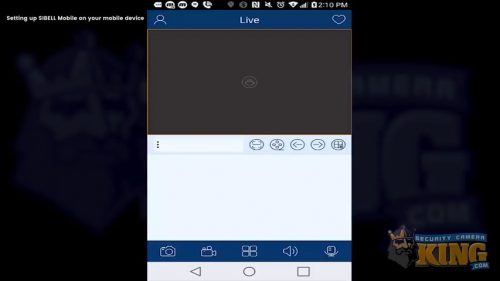
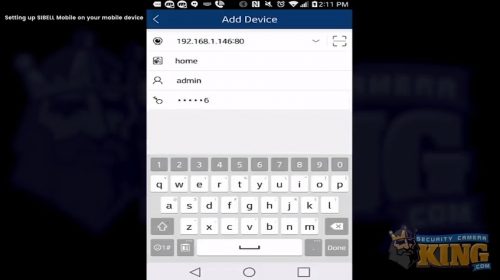
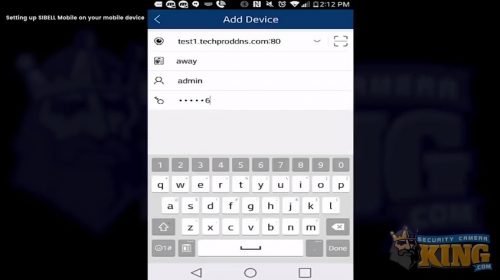
- Here we are going to add our home setting. This is to be used when you are at the location of the camera or recorder, using that local WiFi. First, we are going to fill in the top line, titled IP/DDNS/SN. Type in the local IP address, followed by a colon (:), then the HTTP port at the end. Port 80 is by default, but you can use any number in the reference field that you like.
- For the second line, titled Nickname, name it Home. Next, enter your username and password. Select Done, then select Save.
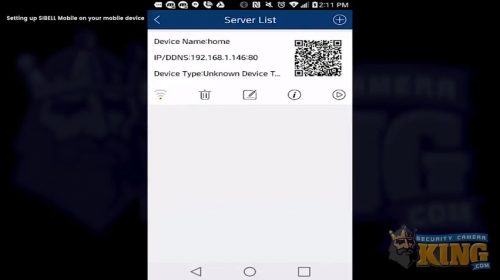
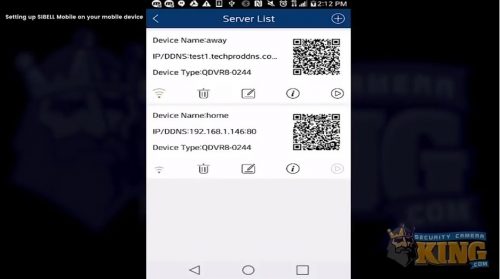
- Once you have selected Save, you should be on the Server List page with the Device Name, IP/DDNS, and Device Type, along with a QR code. You should also notice that status symbol has turned green. That means that your device is now active since it is on the Wi-Fi.
- Next, we are going to add the Away setting. Go back to Add Device. For this example, I am going to use a DDNS. You can also use a public IP address. Then, go ahead and add the HTTP port again. Do this by typing in the DDNS or IP address, followed by a colon (:), then the HTTP port. Give it the name of Away this time, enter the username and password. Then, select Done and then select Save. If you see that the Wifi is still active, disable it on your mobile device. Once you have done that, you should see that the Away setting is online and now active.
Live View
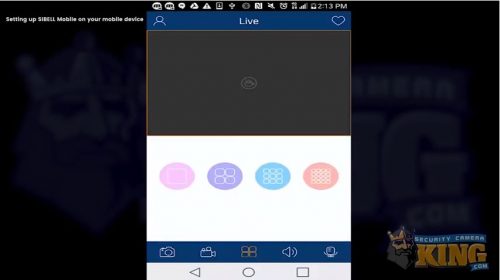
- Next, I will go over Live View, Playback, and Backup. Return to the Live page. You should see Away on the left side with three small dots next to it. If you have added multiple devices, they will be listed there and you can choose from them.
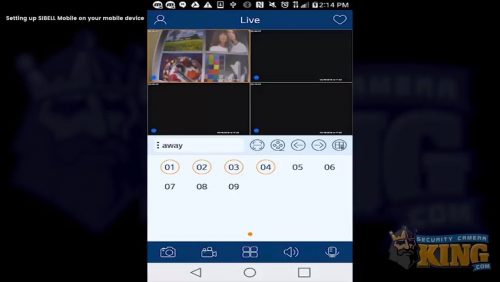
- Now, select the four little squares located in the middle towards the bottom of the screen. This is where you choose different layouts, such as 1-channel view, 4-channel view, 9-channel view, etc. Go ahead and select one-channel view, then select the 1 option. That is channel 1 on your DVR.
- If you would like to, select the 4-channel view to see what it looks like. Once you have selected the 4-channel grid, let it load up and you can determine which view you prefer.
Backup & Remote Playback
- Next, I am going to tell you how to do Backup. To do Backup, go back to the 1-channel view. Next, select the Record icon located in the center of the screen (circle with 4 holes in it). A screen should come up asking you to confirm some directions. Select OK to confirm. If it brings you back to the previous page, select the Record icon again. Once you select the Record icon, it should say Remote Playback at the top of your screen.
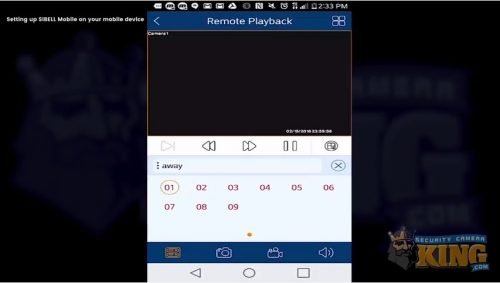
- Next, you will want to select your device. You should still be in the Away set. Then, select Camera 1. After you make that selection, there should be a small clock icon towards the bottom of the screen. Here you can choose your date and time. To select the timeline, just slide left or right with your finger.
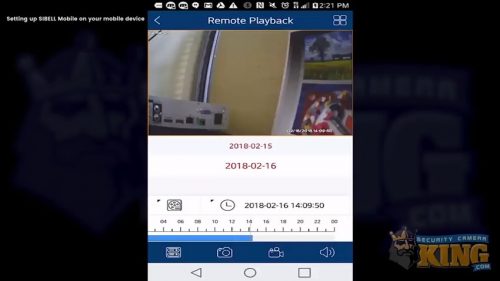
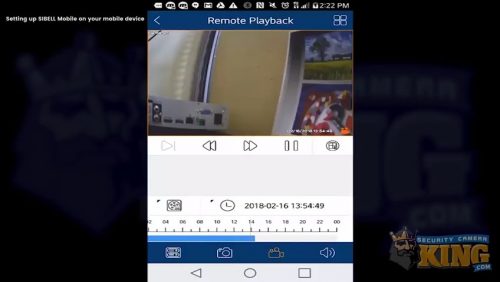
- Next, we are going to back up photos directly to your device. To do that, select a starting point on your Timeline. Then, select the Video Camera icon. After selecting the Video Camera icon, it should turn orange. This means it is active and it is downloading directly to your device. When you uncheck it, that means it is now done.
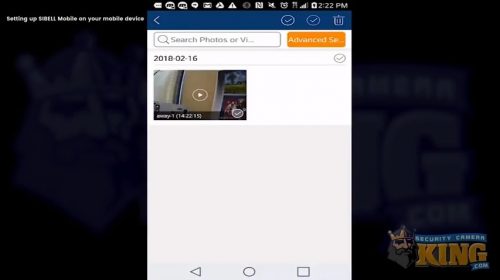
- Next, select the person icon in the upper-left-hand corner. Then select the File option. In File, you will find the video that you just took.
Push Notifications
- Lastly, let’s take a minute to go over Push Notifications. Back out of what you are currently in, select the person icon in the left-hand corner, then select the Push Setting option. If a notification immediately comes up, select Add to confirm and proceed forward. Next, if another notification that reads Ignore Optimizations pops up, select Ok.
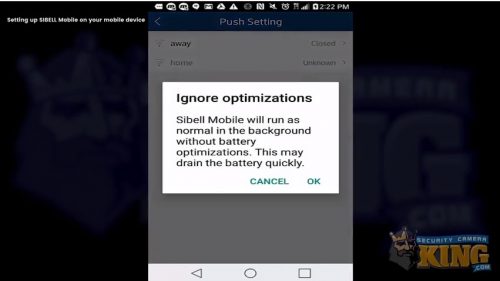
- Once you have selected Okay, tap on your mobile device. Next, select Away. Then, slide the Device Notification Function to the right. By doing so, you will enable your push notifications for, in this example, the Away device.
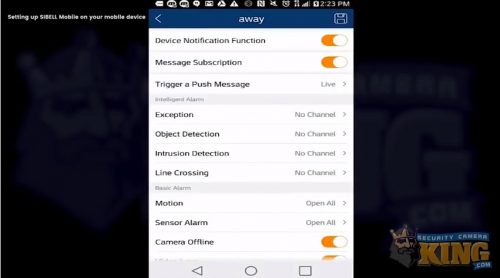
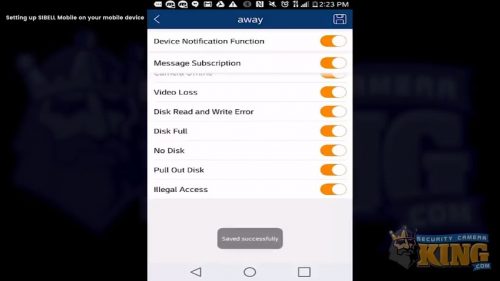
- Once this is done if you select Trigger a Push Message you have the option to choose either Live or Remote Playback. The second thing to look for while on this screen is the Motion option. There are a variety of other options to choose from, but for this example, we are only going to go over Motion. After you select Motion, a screen should come up showing which of channels has motion enabled. The channel will be orange if it enabled. Once you are satisfied with these preferences, select the Save icon in the upper-right-hand corner. Once selected, it should read Saved Successfully at the bottom of your page.
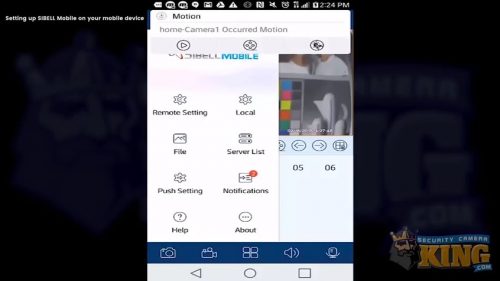
- If you would like to test these notifications, trigger a motion sensor alarm and watch how they show up on your notifications. Once triggered, select the Notifications icon. If prompted, select Okay to confirm and proceed to the Notifications screen. Then you will see a list of your separate push notifications.
I hope this article has been informative and helped you with setting up Sibell Mobile on your mobile device. If you would like a visual representation of the topic discussed in this article, watch the video included below.
You can also watch other Sibell Mobile and security-related videos here: Security Video Vault.
If you have any additional questions, please CONTACT US.
And visit our website to view all of our Sibell products, security cameras, and surveillance equipment here: Security Camera King.
Facebook | Twitter | Google+ | YouTube

