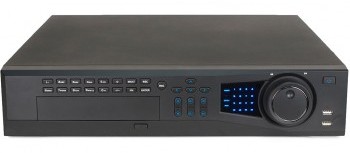
This is the supreme standalone upgrade solution. If you’re looking to keep up with new SecurityCameraKing.com technology then this Tribrid DVR is your answer. If you have installed previous analog systems and you have great cameras and beautiful cables and power supplies in place and you have upgraded all of your hard drives, replaced network routers and switches but you still have your old school analog DVR that is ready to retire. Well guess what? You can keep your good analog cameras, power supplies, hard drives and network hardware. All you need is the new Tribrid DVR using analog, HDCVI, and IP camera technology. You can now show off your new Tribrid to your friends, family and business associates by incorporating new HDCVI technology and IP megapixel cameras. If you’re looking to add more cameras or just want to replace exciting cameras with higher resolution units then the Tribrid will do the job. Setting up the unit is a breeze, I will illustrate some simple setups, new functions and configuration for the new TRIDVR-EL16.
Connecting HDCVI, Analog and IP cameras to the Tribrid
Connecting cameras to the TRIDVR-EL16 can get tricky but SecurityCameraKing.com has 5 star tech support that will help you the whole way (for free), but if you’re one of those do it yourselfers, then here are some simple to follow set up instructions. First, logging in to the system is the same as all of our DVR, NVR, and Hybrid systems. The default user name is admin and the password is admin. After logging in you will encounter the wizard you can just exit out of. From the main menu go to Camera.
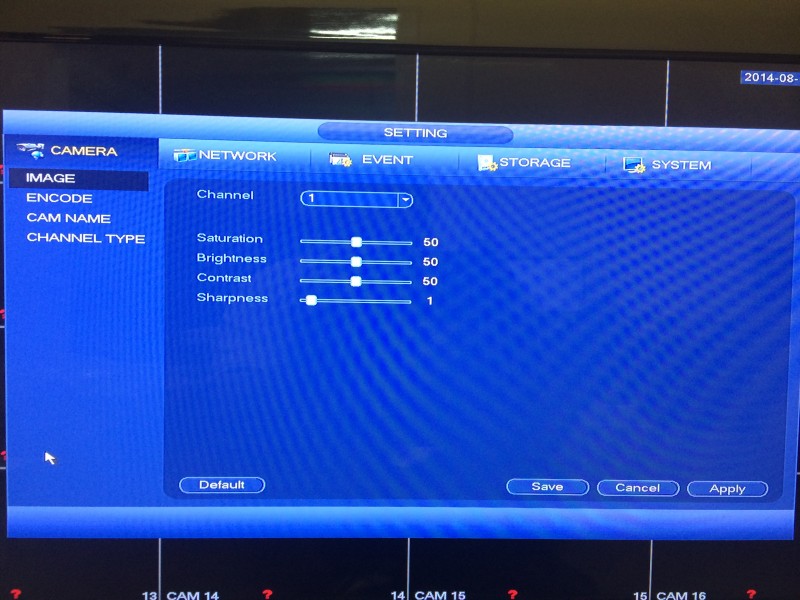
In the image page you will see the channel selection (Drop down box). You can configure each COMPATIBLE cameras saturation, brightness, contrast and sharpness, just remember to save after every modification.
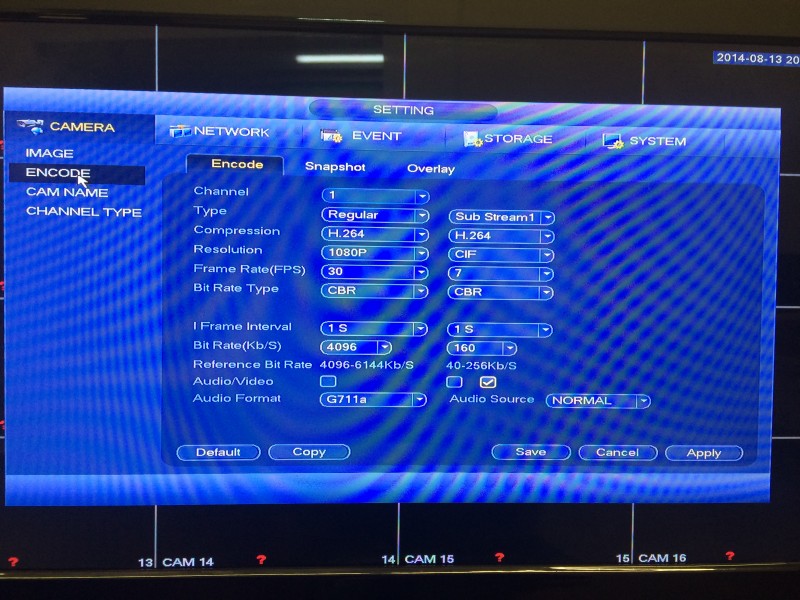
Next is the Encode page were you configure your Compression, Resolution, Frame Rate, Bit Rate, Audio and sub stream per COMPATIBLE camera.
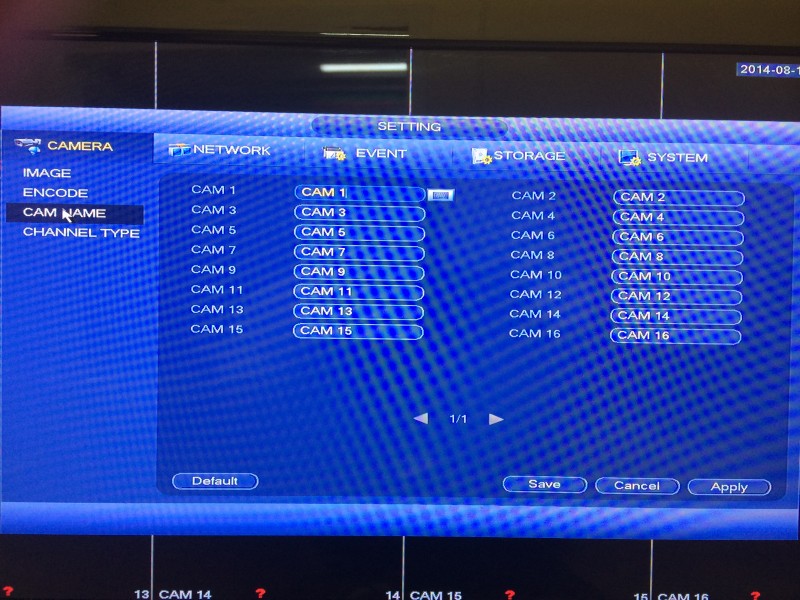
Next in line is the Cam Name. Here is where you name your camera channels. It is a brilliant idea adding a name to a channel/camera, you automatically know who, when and where the even occurred. Example front door, back door, bedroom or backyard on February 3 2014 at 7:30pm.
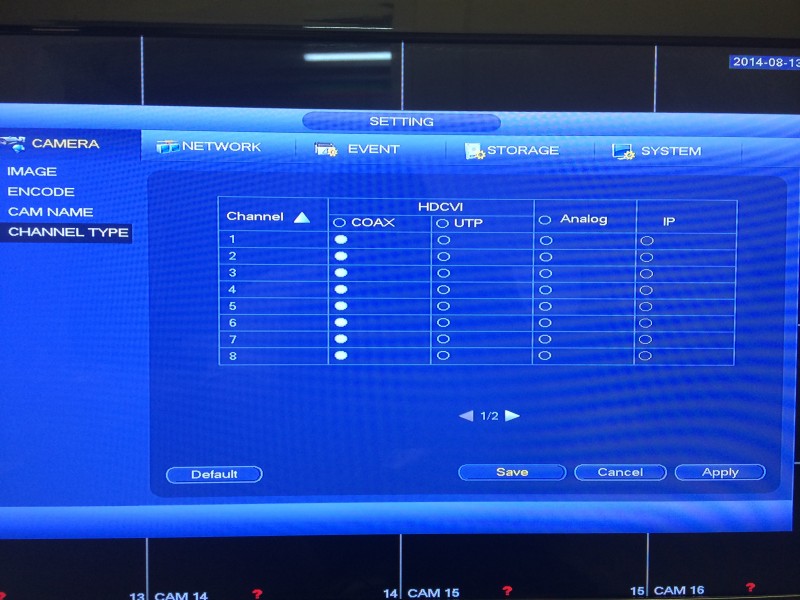
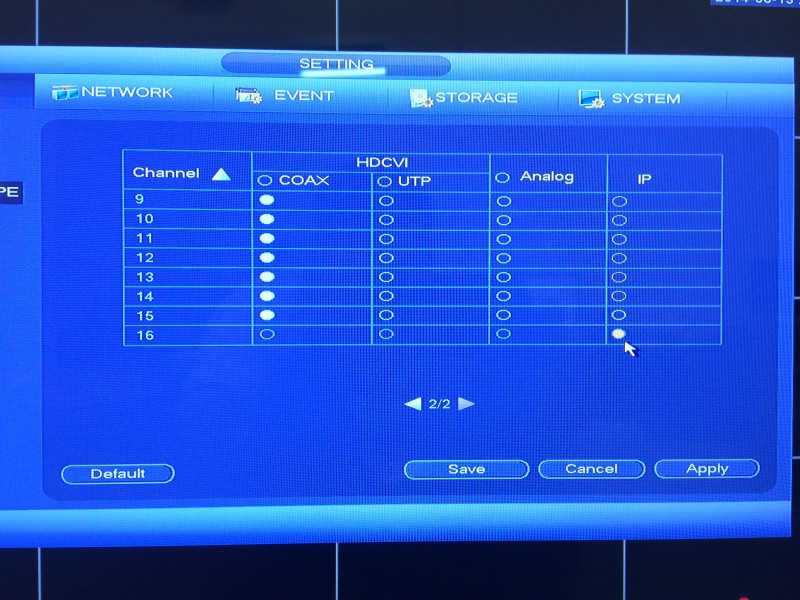
Now the very important part, the Channel Type page. Here is where it can get a little tricky. The Tribrid’s BNC inputs are defaulted using HDCVI cameras. The adjustment is simple just switch the channel you have the analog camera connected and enable the analog field.
When connecting and configuring an IP camera you have to start from the last channel of the Tribrid. For example if you have a 16 channel Tribrid DVR then you would start adding cameras from channel 16 and down, so the first IP camera you connect and configure will be channel 16. You would copy the same configuration as the HDCVI described previously and still be in the channel type page and then towards the bottom of the page there is an arrow selecting next page. Go to page 2 and select IP on channel 16 for your first IP camera, 15 would be the 2nd IP camera and so on. Remember if you have any question or concerns you can always contact TechPro Security Support Monday through Friday from 9am to 6pm Eastern Sunny Florida time.
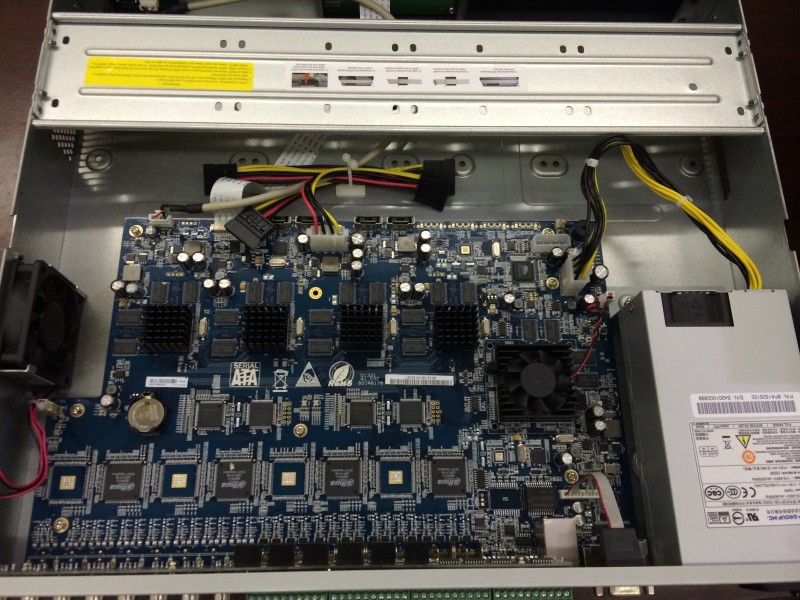
Tribrid DVR Hardware.
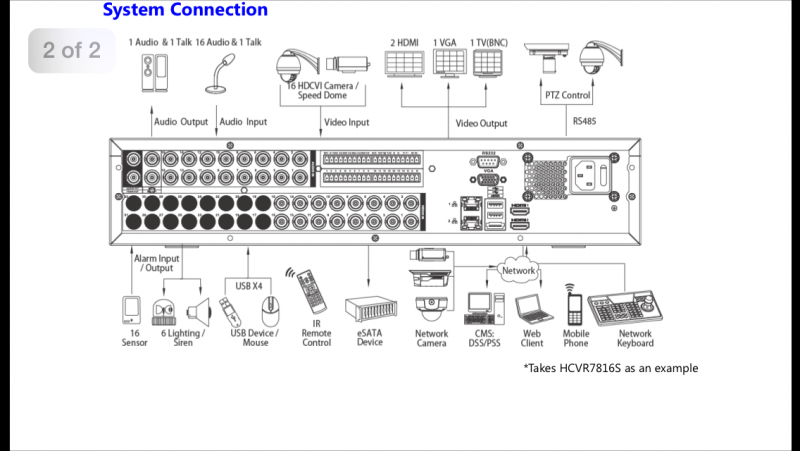
The motherboard is strong and smart and you can install up to eight 7200 RPM SV-35 3TB Hard Drives capturing proper resolution and long length recording with no hassle. On the back of the unit you have HDMI, BNC, VGA, Audio, RJ-45, Alarm, PTZ control, USB and e-sata inputs as well as other outputs.
Tribrid DVR Remote view configuration.
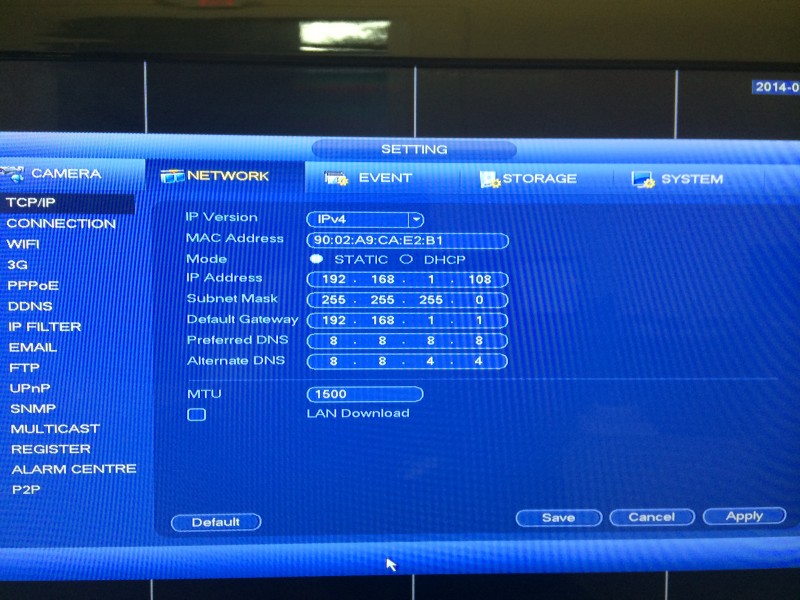
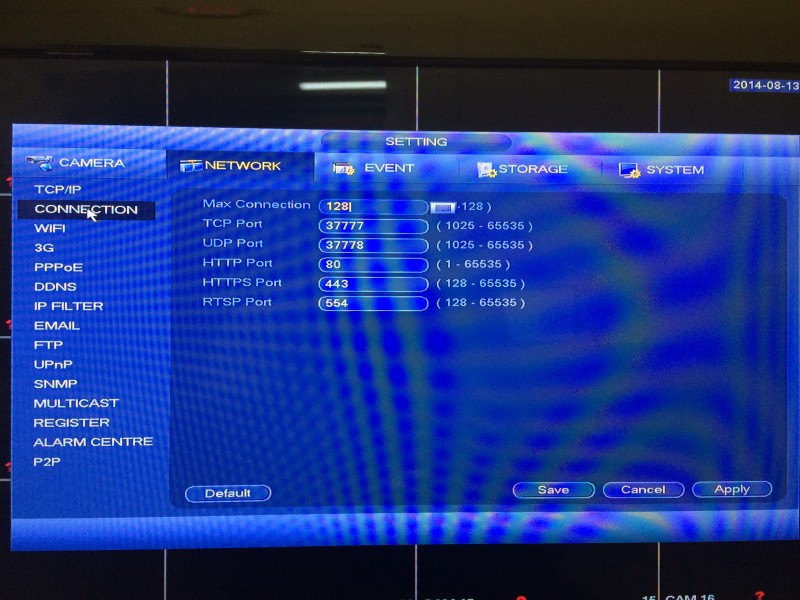
Network configuration is the same as all of our Security Camera King recording units. TCP/IP must match your network, the TCP port should be defaulted at 37777 and the HTTP port should be changed to 88 (the TCP and HTTP ports has to be forwarded in the router to have external access).
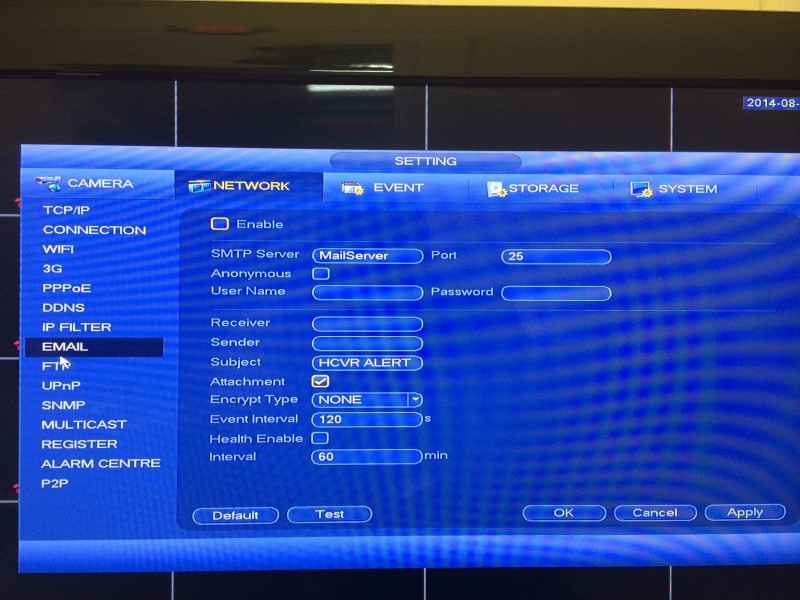
Email alerts can be configured here under the same network sub-menu, utilizing motion or alarm detection to send push emails to your mobile device alerting you who or what has infiltrated your space.
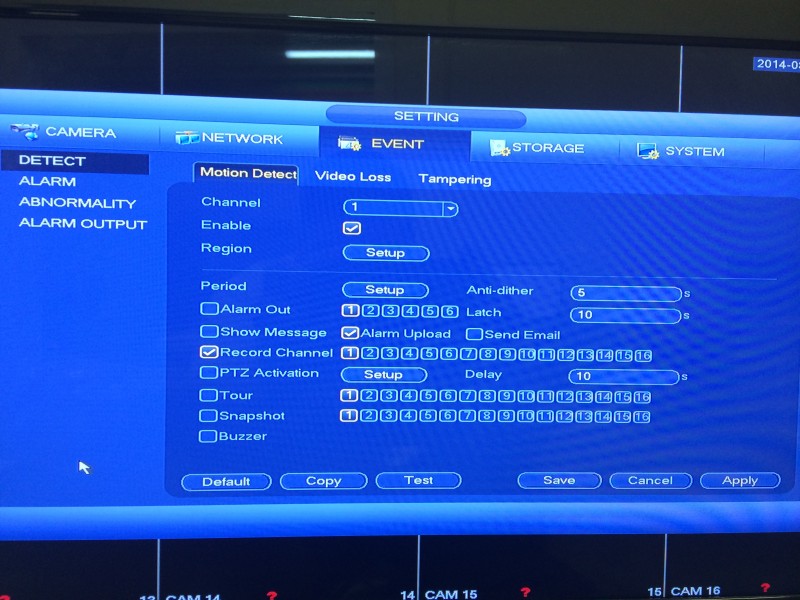
Tribrid DVR Motion detect recording or 24/7 recording.
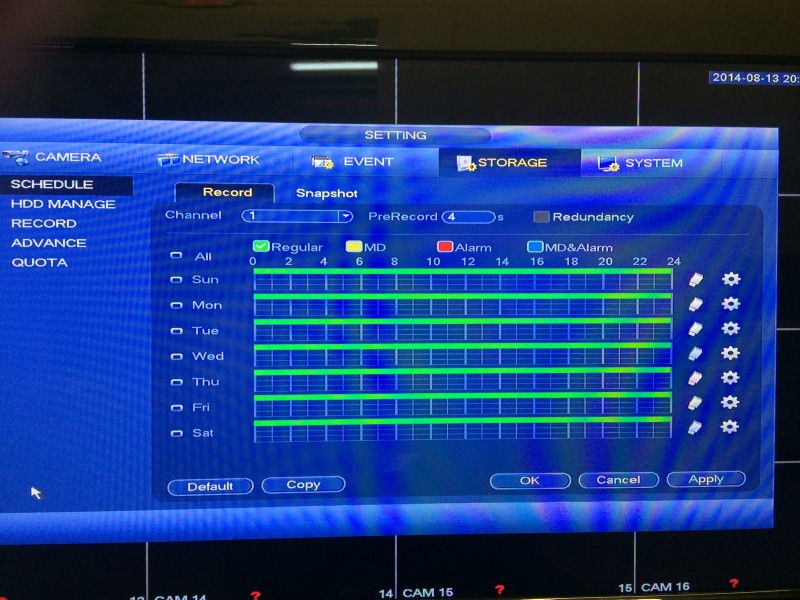
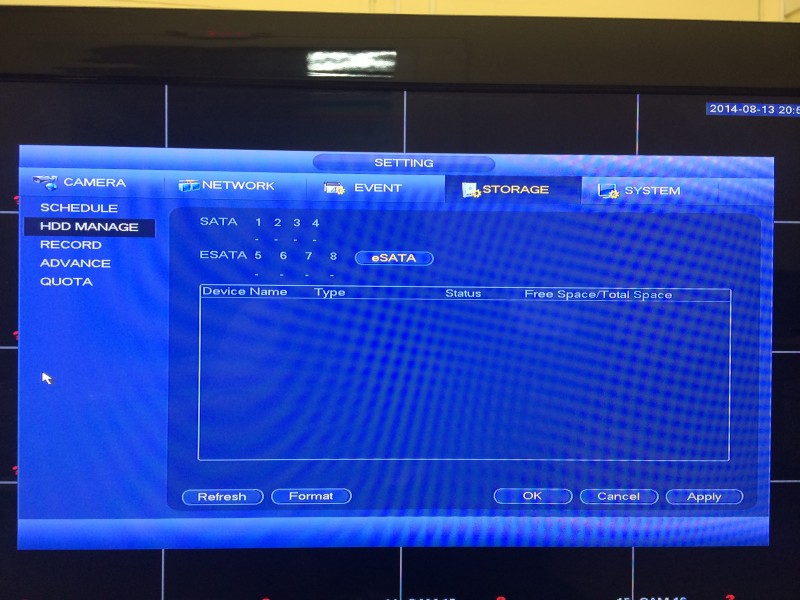
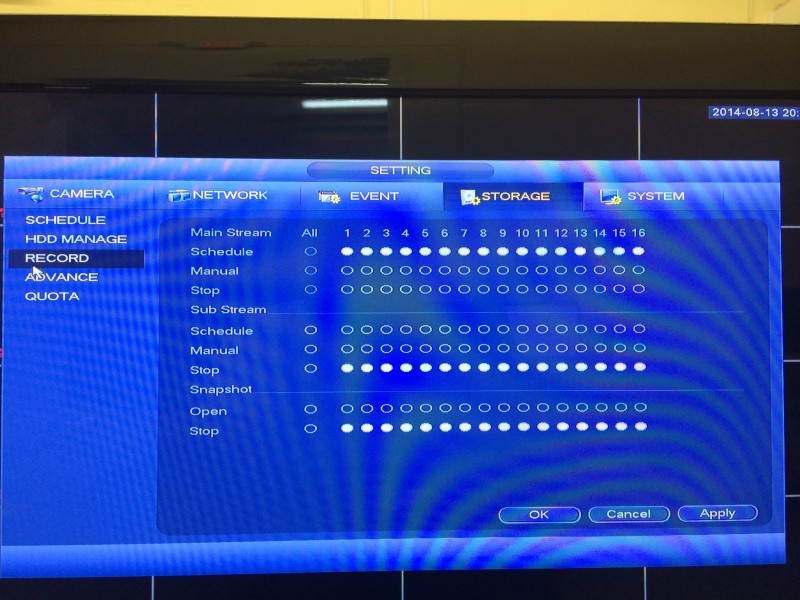
The setup is the same as all of our other recording units, go to storage and configure the Schedule, HDD Management, advance and record as you would like normal. If you need more assistant on the setup please feel free to contact a SecurityCameraKing.com Technician.
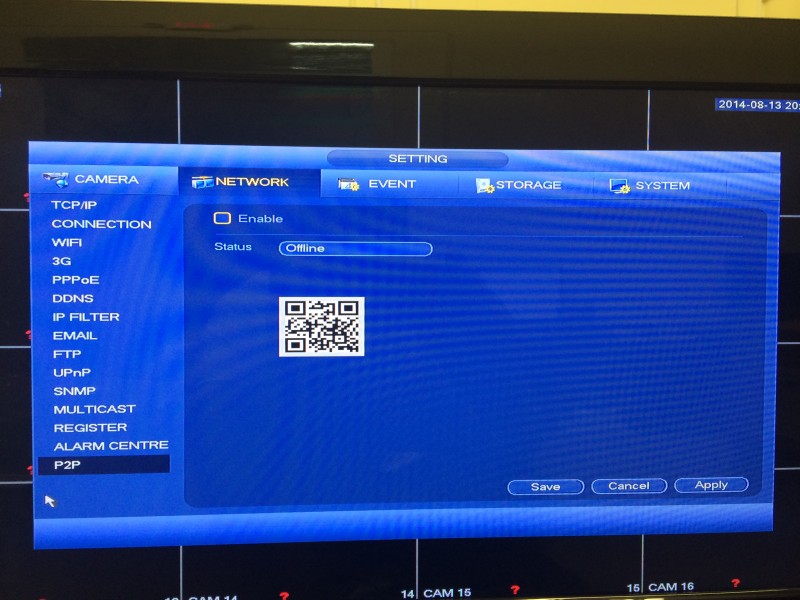
Coming soon – New P2P 2D bar code App scanner
When trying to connect to your security camera system it is difficult and it involves configuring sophisticated network settings so you can view your family and business via your Phone, Tablet or any computer in the world that has Internet access. This new and upcoming feature will make life much easy when configuring remote external access. REMEMBER Coming Soon!
Tribrid DVR System Settings
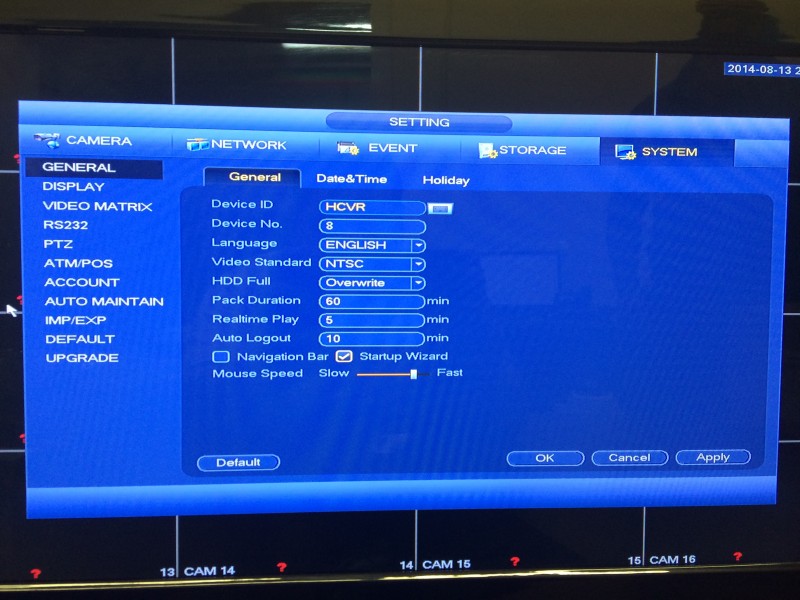
The general page is where you need to configure your Device ID and number, language, Video Standard, HDD Full option, Pack duration, Real Time Play, Auto logout and mouse speed. You want to make sure you adjust your date and time to your timezone because if you need time and date stamp file for evidence it needs to be correct.
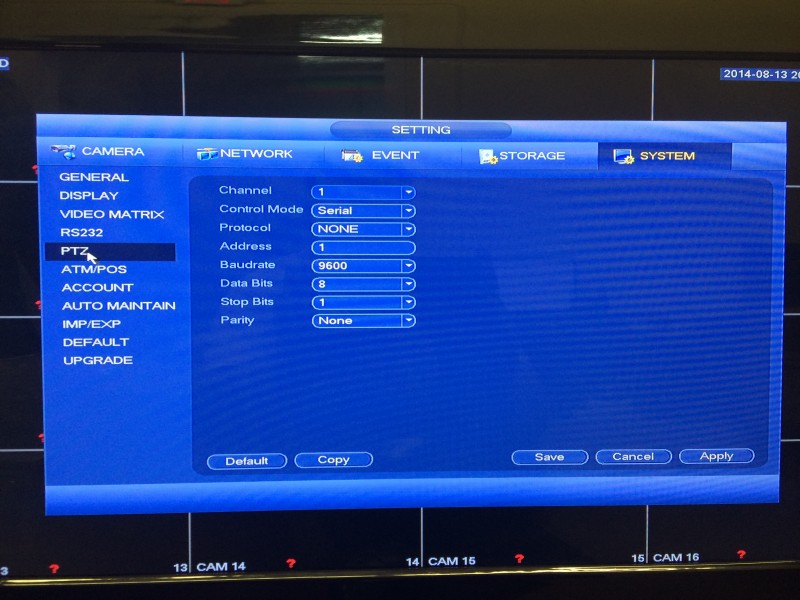
The PTZ page is very important when installing an analog, CVI or IP PTZ, the configuration just needs to match the PTZ camera.
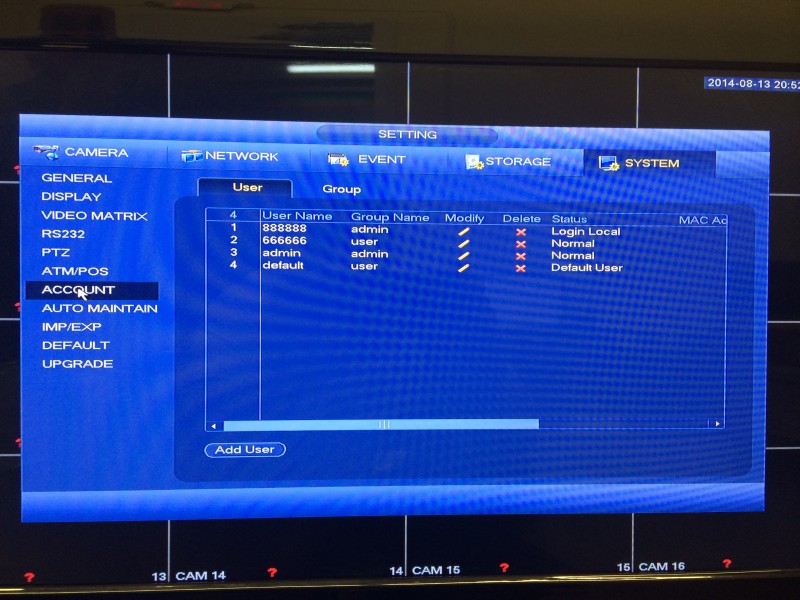
The account page is where you give privileges to users. Assigning accounts are easy with the new interface, make sure not to delete your technician’s administrative password because when you need support, the fastest way in to fix the issue is logging in as an administrator (so don’t forget the admin password).
In conclusion in my experience, this unit blows away any other upgrade. WHY? Because you get the best of three worlds. You can upgrade your whole system and have indoor/outdoor HDCVI cameras and Smart Auto Tracker IP cameras in your warehouse or retail store while still keeping your existing analog cameras you don’t want to discard. One small step for analog, a giant leap for HDCVI and IP technology.
Here is a short unboxing video of the Tribrid DVR (TRIDVR-EL16)

