How to set up your DVR for use with a TechProDDNS Domain
One of the problems with viewing your DVR remotely is that if your Internet service Provider or (ISP) changes your IP address, you may no longer be able to access your DVR. Once properly configured, the TechPro DDNS (Dynamic DNS) service eliminates this common issue.
The way it works is by providing you with a domain name, like the following “MyDVR.techproddns.com”, that will always resolve to your current IP address. If the IP address changes, the DDNS service is notified by the DVR and updates the domain name to point to the new IP. Put simply, you can always reach your DVR by going to “MyDVR.techproddns.com”.
This document will show you how to setup your TechPro Security Products DVR in conjunction with a TechProDDNS domain name. It is important to note that some brands of DVRs may not work with DDNS, but all TechPro Security Products DVRs have this capability built-in.
Step 1 – Register for a TechPro DDNS Account.
Step 2 – Set up a Domain Name.
Once your TechProDDNS account is set up, you will need to set up your domain name.

In the example above we chose the domain name “MyDRV.techproddns.com”, User ID: UserID1 and a Password: Password1.
You can choose any Domain Name, User ID and Password that you like, but they should be unique for each DVR.
Note: In Step 3 (the next step) you will have 2 options for configuring the DVR.
Option 1 is using the DVR Local interface and Option 2 is using the “Web Service” via Internet Explorer.
If you use option 2, the web service, you must have the web service ActiveX Add-on, properly installed on Internet Explorer and your DVR must be on the same network as the computer you are using to access it.
Step 3 – Setup your DVR
Option 1 – DVR Local interface.
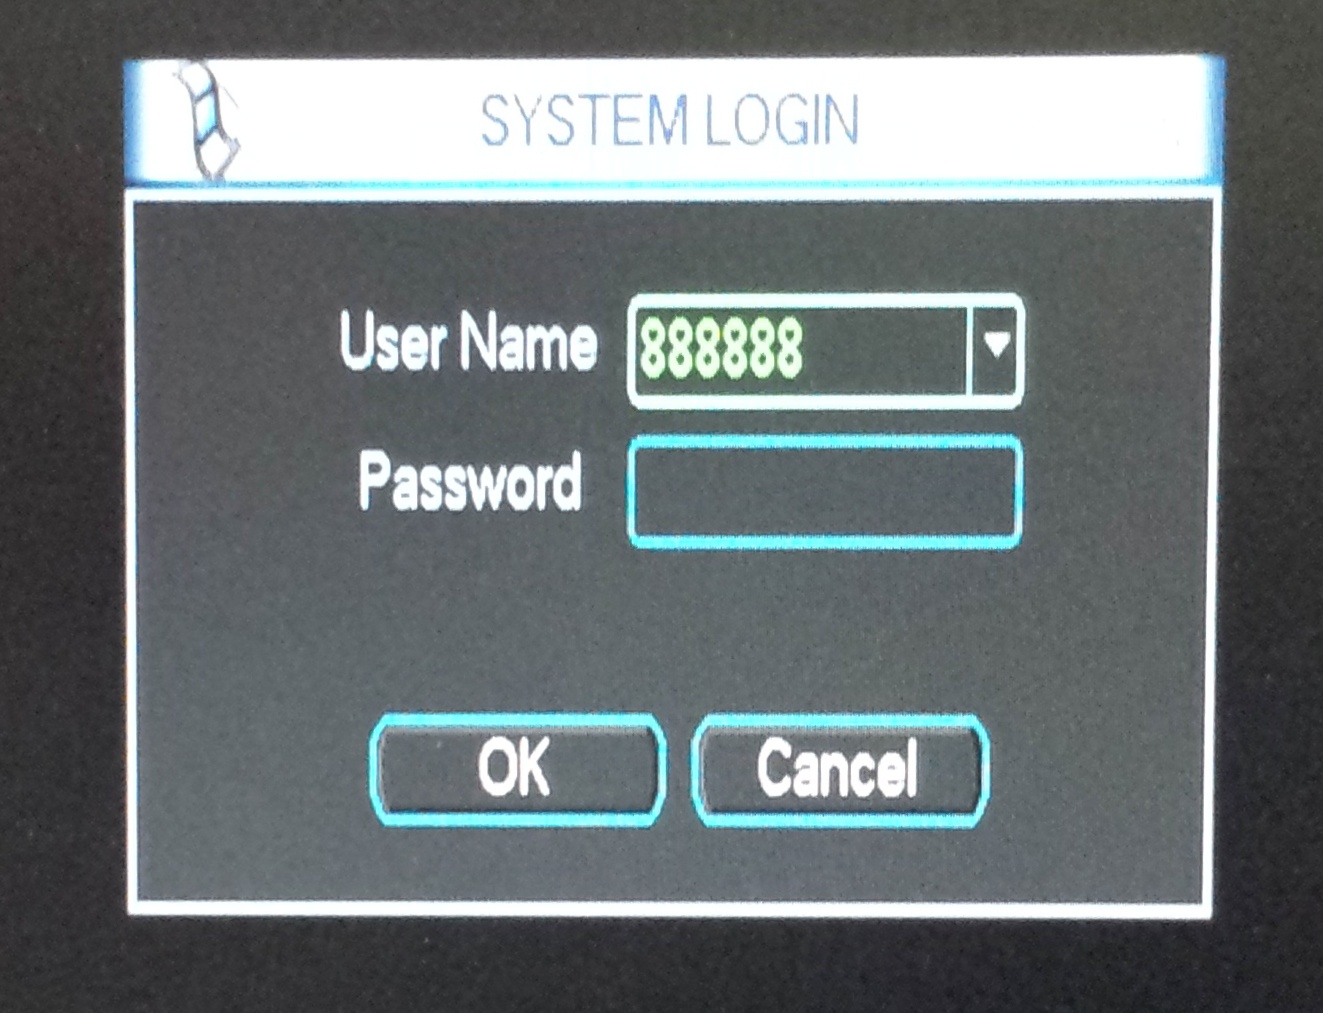
With a monitor and mouse connected to your DVR, login to the DVR Local Interface.

Select “Settings” icon from the Main Menu.

Next Select “Network” icon.

Note: The example below assumes that your network IP scheme follows the 192.168.1.? Convention. This is normally the case. It also assumes that your Default Gateway (typically your router) has an IP address of 192.168.1.1

TechPro DVRs come with a default static IP address of 192.168.1.108. This is normally fine and for the purposes of this document we are going to leave it that way. Do not check DHCP as we want this DVR to ALWAYS have the 192.168.1.108 IP. If DHCP is selected it may pick up a random IP from you router.
Note: Just be sure that 192.168.1.108 is not in your routers DHCP range. If it is another device on that network may get 192.168.1.108 assigned to it and cause conflicts.
We also recommend that you change the HTTP Port from the default 80 to 88. Port 80 is the default HTTP port for many devices and may also be blocked or cause conflicts.
Once you are done scroll to the bottom of the page an turn on the checkbox, next to “DDNS”.
Then double click on “DDNS” to open the DDNS Settings.

Select “Dyndns DDNS” from the “DDNS Type” dropdown and turn on the “Enable” checkmark next to it. Now enter the following information.
Server IP: techproddns.com
Port: Do Not Change this. Unlike the HTTP Incoming Port, this should remain 80
Domain Name: MyDVR.techproddns.com
User Name: UserName1
Password: Password1
Select “Save” at the bottom of the “DDNS Settings” popup and “Save” at the bottom of the “Network Setting” Page.
Option 2 – Web Service (via Internet Explorer).
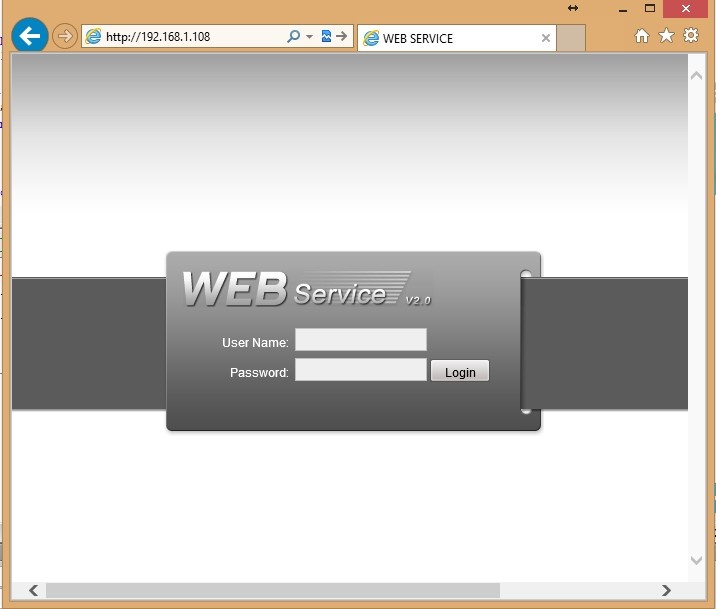
The setup is identical to the setting above but, the user interface of the web service is a bit different. In Internet Explorer go to http://192.168.1.108, and login to your DVR.

Next Select “Network” from the navigation bar on the left.

Note: The example above assumes that your network IP scheme follows the 192.168.1.? Convention. This is normally the case. It also assumes that your Default Gateway (typically your router) has an IP address of 192.168.1.1
TechPro DVRs come with a default static IP address of 192.168.1.108. This is normally fine and for the purpose of this document we are going to leave it that way. Do not check DHCP since we want this DVR to ALWAYS have the 192.168.1.108 IP. If DHCP is selected it may pick up a random IP from your router.
Note: Just be sure that 192.168.1.108 is not in your routers DHCP range. If it is, another device on that network may get 192.168.1.108 assigned to it and cause conflicts.
We also recommend that you change the HTTP Port from the default 80 to 88. Port 80 is the default HTTP port for many devices and may also be blocked or cause conflicts.
Once that is done, scroll to the bottom of the page and check the box next to “DDNS”.
Select “Save” at the bottom of the page.
Now Select “DDNS” under the “Network” Menu.

First select “Dyndns DDNS” from the “DDNS Type” Dropdown and check the “Enable” box next to it.
Now enter the following information:
Server IP: techproddns.com
Port: Do Not Change this. Unlike the HTTP Incoming Port, this should remain 80
Device Alias: MyDVR.techproddns.com
User Name: UserName1
Password: Password1
Select “Save” at the bottom of the page.
Step 4 – Port Forward your Router to your DVR.
OK, now you have configured your DVR to communicate with the DDNS server and keep it up to date with your current IP address.
The last thing we have to do is set up port forwarding in your router. Doing this tells the router that when a request comes in from “MyDVR.techProDDNS.com” on port “88”, to forward us to the DVR.
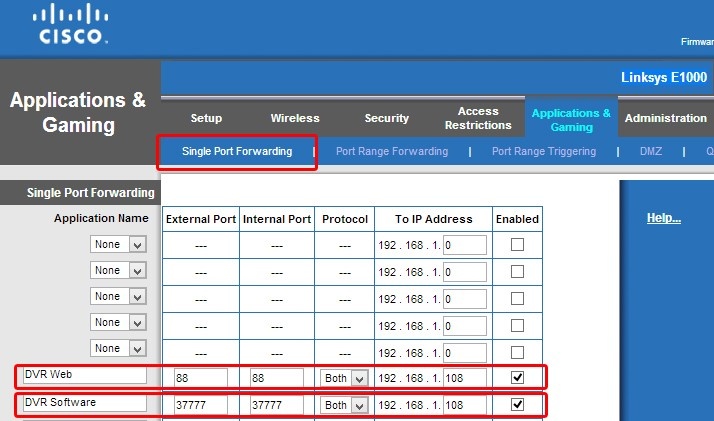
The user interface may vary depending on the specific router, but port forwarding is usually set up similar to this example. Here I am using a Linksys E1000 wireless router as shown below.

Most routers will have options for “Single Port Forwarding” and “Port Range Forwarding”. In this example we will use “Single Port Forwarding”.
You may have noticed earlier, when we changed the “HTTP port” to “88” that there was also a “TCP port” set to “37777”. We will need to port forward both of them. The HTTP port (88) is used by the “Web Service” when accessing the DVR from a browser, like Internet Explorer and the TCP port (37777) is used by software or mobile apps that will be accessing your DVR.
Once you find the area in your router for “Single Port Forwarding”, you will want to set things up similar to the settings shown above.
First, you will assign a descriptive name to each port forward. I used “DVR Web” for port”88” and “DVR Software” for port “37777”.
In the “External Port” and “Internal Port” fields you want to specify the port that the request will be coming in on “88” or “37777”.
Under the “Protocol” drop down there are usually 3 options, TCP, UDP and Both. We really only need to select “TCP” but selecting “Both” won’t hurt and covers all bases.
Now you need to tell the router the IP of the device you want to forward your request to. In this case it’s the DVR “192.168.1.108”. That’s why earlier we mentioned we do not want to check the “DHCP” option, this will ensure that the DVR is always “192.168.1.108”.
Last, you want to “Enable” or make sure this rule is “Active”.
Testing To See If Everything Works.
At this point if everything is setup correctly, you should be able to test it by launching “Internet Explorer” and going to the following domain:
HTTP://MyDVR.techProDDNS.com:88
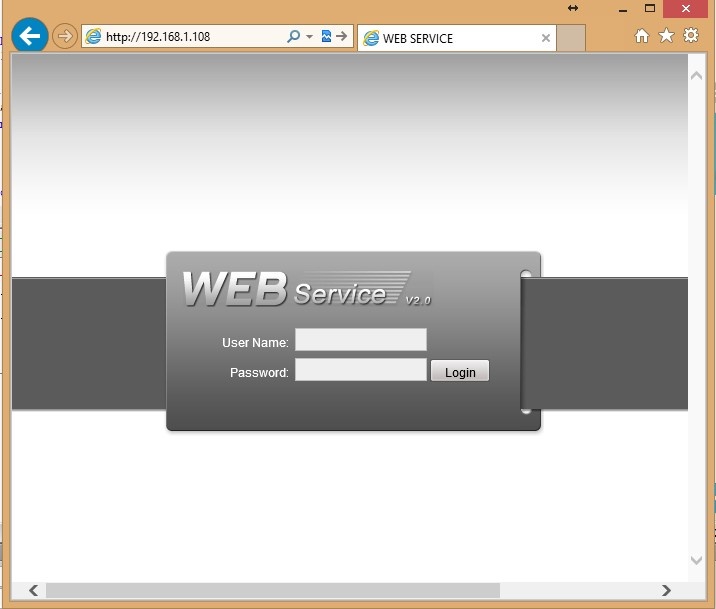
If you get the “Web Service” login screen, then it’s all good!

One Last Note: Notice that we had to specify: 88 at the end of the domain name. This is because we change out HTTP port to 88. If we did not add: 88 the router would not know which rule to use to port forward our request.
