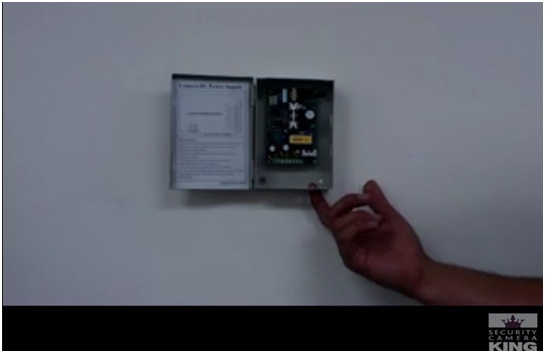
First in advance we’ve already punched out the hole in there you can pick any of the bottom wholes in there to get easy access but you can use any of the holes around the power supply.
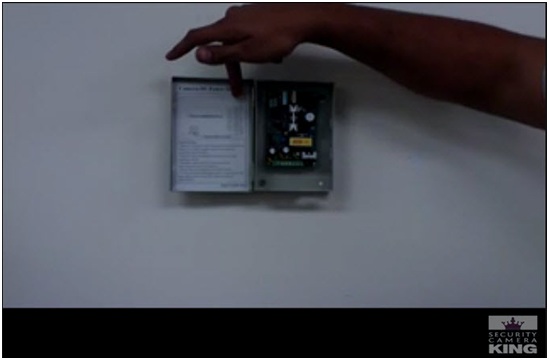
Next you’ll want to reference the codes on the door you’ll see it will show you the positive and the negative, positive being your red cable.
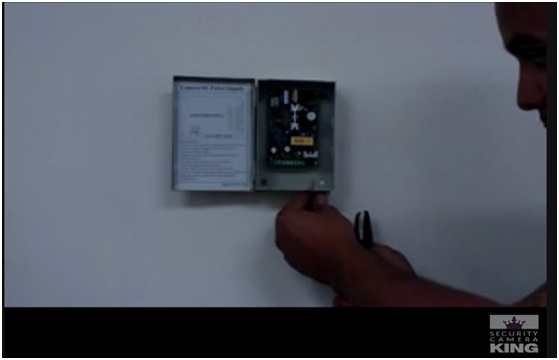
Next you’ll want to take your cable and connect it to your camera by just simply inserting it in there. Then pushing your cable through the hole that you punctured through the power supply box.
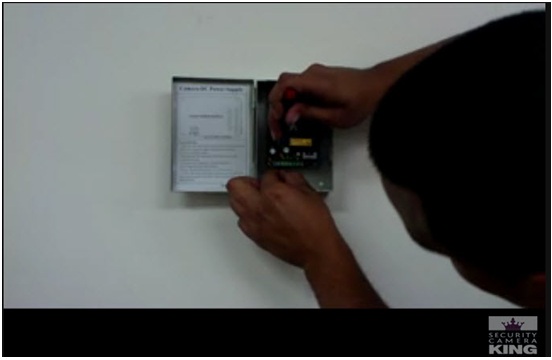
Give yourself some lead to work with there. You may want to trim off some of the extra wire. Twist the wires to make it easier to insert into the power board. You’ll take these cables and you’ll wanna loosen these screws which you are using for the board; they come from the factory, tightened usually. Once you’ve loosened the screws to the power board, according to the schematic on the door, insert the cables into the power board and one at a time tighten them again using your screw driver.
Test it for firmness to make sure it’s not loose. If it is loose you’ll want to reconnect the wire again using the same method. Loose cables can result in camera failure. And this is the video of how to properly install a camera to your power supply board.


