28
Feb
Onboard POE Tutorial
We wanted to take the time to put together an Onboard POE Tutorial to help users set up IP Cameras on their embedded POE NVRs. So we did!
IP cameras can connect to...
24
Jan
Smartphone Notifications for CCTV
Today Security Camera King wants to show you how you can set up smartphone notifications for one of our CCTV recorders. This feature allows you to receive alerts right to our...
27
Dec
Tripwire and Intrusion for CCTV
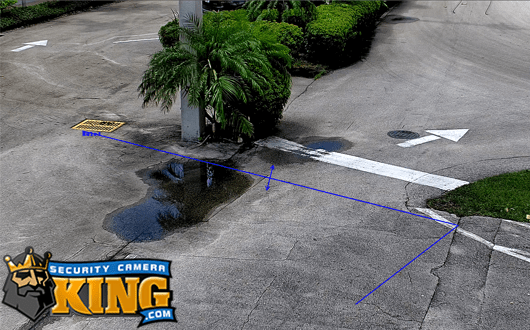
One of the most widely used features of our CCTV recorders is tripwire and intrusion box detection.
Tripwire and Intrusion Box detection fall under a specific category of features referred...
22
Aug
What Are False Alerts in CCTV?
Joe from SCK here, and today we aim to answer the question "what are false alerts in CCTV?" and further "how do we get rid of false alerts?"
To understand...
15
Aug
Time and Date Settings for Security Recorder
Today we want to talk to you about the importance of, and how to set time and date settings for your DVR or NVR security recorder
Check out the...
09
Jun
Troubleshoot Display Loss on a DVR or NVR
Hey everyone, Joe here from SCK with another article and video; today we are helping you Troubleshoot Display Loss on a DVR or NVR! It can be fairly...
10
Sep
Watching recordings
Security cameras are among the most effective ways to ensure the safety of one's assets. Though much equipment is required to set up a surveillance system, which is accompanied by many expenses, it...
15
Nov
This is a video demonstration of the local interface of all of our DVRs. All of our DVRs share the same interface and the same GUI or Graphical User Interface. So, basically if you know how to use one, you know how to use all. You will find there are different features available on one and not available on the other based on the type of DVR you get from us.
28
Oct
This is video demonstration of our video management software and I’m going to be showing you how to install the software, how to connect to your DVRs, how to playback your cameras and so on. So to install the software is very straightforward you will see these two files and you will choose the “Setup” to initiate the software to install the software on your computer, that’s basically it ; pretty straightforward.
05
Oct
In this video I will show you our brand new IPBC-EL3MP box camera.
05
Oct
This is a vandal dome 3 megapixel camera that just arrived. It’s very good, it has an amazing picture and I’m going to show you how to open it and show you what you’ll see inside the camera when you do open it.
05
Oct
In this video I will show you the difference between main stream and extra stream or sub stream on your DVRs for IP cameras. So for this demonstration I will use a 16 channel mini-HD this unit has pretty much the same interface for DVR Main stream and Sub Stream as all of our DVRs and our IP cameras.
05
Oct
In this video I’m going to show you how to open the ports on a Linksys router for you to access your DVR remotely. For this demonstration I will be logging in to one of our routers and this router is remotely tied into our network. So the IPs I’m going to use to access it are going to be different than yours. But by default this unit has an IP address of 192.168.1.1 to be accessible from anywhere on your network
05
Oct
In this video I will show you some of the settings that you will find in our brand new megapixel cameras. As I’ve said before in previous videos, these megapixel cameras have the same interface as our DVRs and it is very intuitive and very easy to use.
26
Feb
Access your security cameras from anywhere on most smart phones!This product is a 4, 8, or 16 Channel License for our Mobile Viewer software. View any of our Elite Mini, Elite or Ultimate Series...
12

