Access control is the ability to allow or restrict access to a place or to have the ability to deny or allow the use of a resource. The idea behind this is to control certain users and resources at a specific place so there is full control of how, when and where the resource is utilized.
Access control can be done manually or completely automatic, but how would you keep track of who, when, and how the resource was accessed? The short answer to that is Access Control Software.
Many access control devices are network capable, which means that they can be accessible over a web browser or through a software via TCP/IP. These devices can also have a Web Service Interface that can show you basic information such as logs, alarm events, etc. Most of these devices that have that capability are very limited on the things you can configure.
Every access control is different in the way they might require a specific set of settings to successfully connect with the main software. In this demonstration I will be showing you how to configure the Standard Version of IDTECK’s Access Control Software.
This software will require 2 sets of programs and setups. One is the server communication and the access control software itself. It is necessary to install SQL for the database of the software so it will be easy to export any database with settings later on. SQL Express comes with the Standard version for free so there is no need to acquire a greater version, unless there is a necessity to have advance settings on SQL. Other than that it should be straight forward.
NOTE: To make sure the installation runs smooth make sure that the following requirements are met:
1.- Windows 7 x32 or x64 bit
2.- At least 10GB of Space on your Hard Drive
3.- Make sure no other SQL Instance is running on your PC
4.- Minimum of 4GB of Ram and a Dual Core Processor with at least 2.00 Ghz.
Software installation
Download the Server version of the software from here: https://docs.google.com/uc?export=download&confirm=P8oW&id=0Bwe1rQdTv-n4YTNyQloteUtxZWM
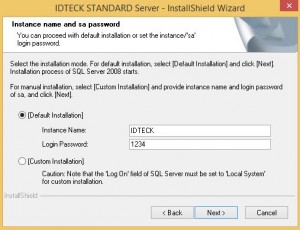
Double click on the icon and proceed to install the software. Follow the prompt and install all of the necessary updates until you get to the section where you will need to named the Instance. See picture below
After naming the instance of your SQL installation you have to make sure you remember the password because this will be required to configure the communication server. Click Next and the SQL process will begin by decompressing the files and preparing the installation process. When done, the following window will appear:
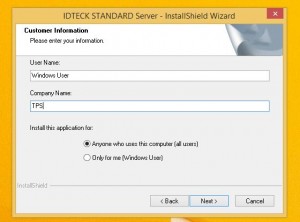
Type a name and a company name to continue the installation. Select all of the features on the list and click Next.
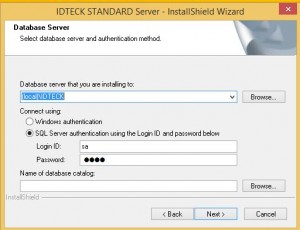
On this section make sure the database server is typed as shown in the picture above. Select SQL server authentication and use the following default username and password (sa) and (1234). Note: If you change the password then you will need to type that info under the password field. Click Next to begin the installation process:
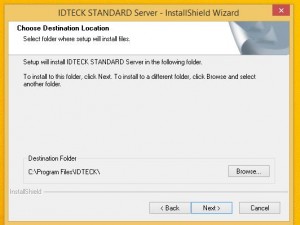
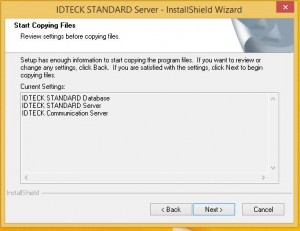
Click Next to begin the installation. Check the following picture summary to make sure you have all of the SQL features that will be installed.
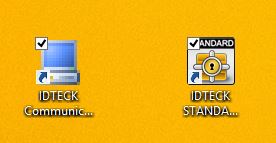
When the installation is completed, the following 2 icons will appear on your desktop. These icons are essential to the software and a few more adjustments need to be made before we fire up the communication server.
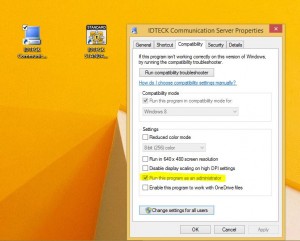
The next step is to make sure we have the software executed with administrative rights. To do this, right click on each icon and click on the compatibility tab, then select the “Run this program as an administrator”.
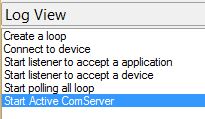
Double click on the IDTECK communication Server to begin configuring its settings:
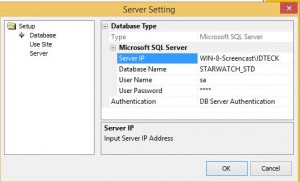
After the software launches, click on server setup and the following settings will show as the picture above. Click on the Server IP and make sure that the IP is your computer name\IDTECK. The Database name will be STARWATCH_STD. Username is “sa” and password is “1234”. Authentication should be DB Authentication.
Note: if you change this (username and password) when installing the software then you will need to input the right information. Click OK when done and the result should be as show in the picture below:
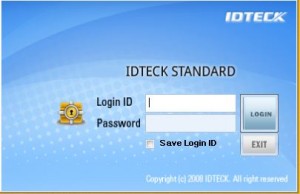
Double click on IDTECK STANDARD Server Icon and input the username and password. The default username and password is admin.
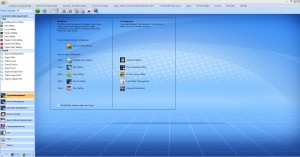
After all this the software will open up and will display the following interface. From here we can prepare the software to communicate with the device you are trying to manage.
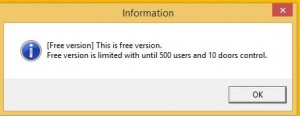
Note: This software is free with a limit of users and doors that can be run without a license. A pop-pop will show after the software is launched:
Notice that because the software doesn’t have a device configured in it, the software will display certain errors. See picture below for reference.
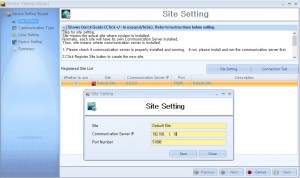
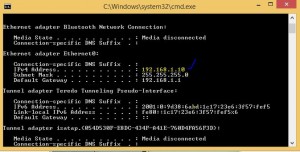
To add a device go to “Device Setting Wizard” to configure the Default Site settings. Click the checkbox labeled “Whether to use” and click on the “Site Setting” button. A site settings box will display for you to type the communication server IP address. The IP address will be the one your computer have. You can find out what IP address your PC have by going to command prompt and execute the ipconfig command.
SITE SETTING’S SCREEN
IPCONFIG SCREEN
At this point you will need to follow the steps to build your database for your access control and configure the connections between the software and your access control equipment.
For more information about this software play the video below to see a quick video demonstration of the operations and configurations of this software.

