Technology in the CCTV industry advances rapidly, as well as our knowledge and dedication to lean more about the products we support and sell. Today I will be demonstrating how to configure one of our newest IP PTZ cameras (an IP PTZ Auto Tracker) that is capable to track an object based on a rule. When that rule is triggered, the camera will perform the tracking action by following the object as much as it can.
This auto tracking method is called multi-scene. It basically operates based on presets and the camera will look on all presets to see if any of the rules have been triggered. Then it will look at whatever triggered that rule and the camera will follow it until it goes out of it’s view.
Login to the camera and go to Setup. In the left hand side click on IVS Setup and the IVS setup menu will appear:
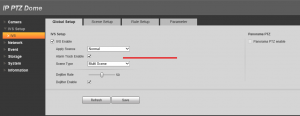
Front this window, click on IVS Enable. Under the scene type select Multi Scene and click Save. Go to Scene Setup and using the arrows located at the bottom left, move the camera to the area you would like to monitor. To store that area as your first preset you will need to click on “Add Scene”. When moving the camera you can click on Plus (+) and Minus (-) sign to Zoom in and out. Once you are happy with the zoom you can click on “Set Track Rate” to indicate the maximum amount of Zoom the camera will utilize when it senses that one of the triggers have been activated. Zoom back out and click Save. Move the camera to another area and repeat the same steps, once you have created multiple areas then click Save. At the end it will look something like this:
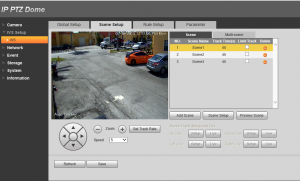
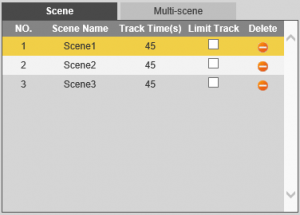
Noticed that I have added 3 Scenes to my setup. Under scene name you can click on any of the scenes to change the star interval. The stay time interval is measured by seconds and it will make the camera stay on each preset depending on how long the time is configured. Click on Multi-Scene to now add the scenes (presets) you have created. Click on Add Path and a new Scene name will appear. Click on the scene name to change the name and Stay Time. Noticed that when clicking the button Add Path Scene 1 will appear over and over. You will need to click on the name and from the drop down select the next available preset you created. noticed the camera now will move to that preset.
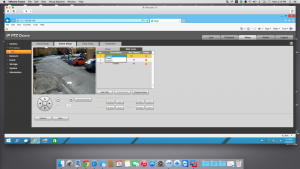
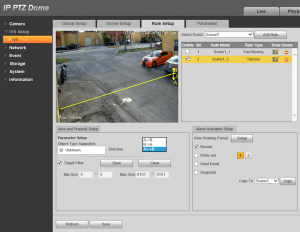
Lets move to the Rule Setup. In this section we will configure a few rules. The picture of the first scene should appear allowing you to click on “Add Rule”. A Scene 1_1 will be created and we can proceed to choose different types of Ryle Types. For this demonstration I will show you how to configure tripwire and intrusion.
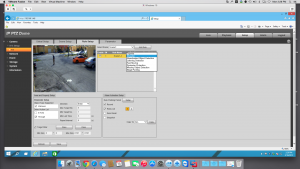
From the list, select intrusion for the rule type then click on Draw. A new notification will show stating “Please draw the region”. In order to do so move your mouse to the video displaying in the window and while holding the left click of the mouse drag it to the areas you wanted to allocate as intrusion. On the bottom of the video feed you can see the direction of the intrusion, you can choose enter, leave or Both, that means that when the trigger is broken the camera will track whatever activate the rule. Save the settings and click on the Live Tab to view the camera performed the action when the rule is triggered.
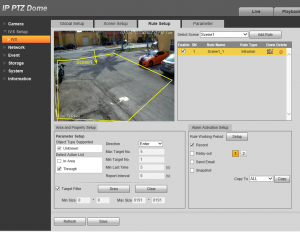
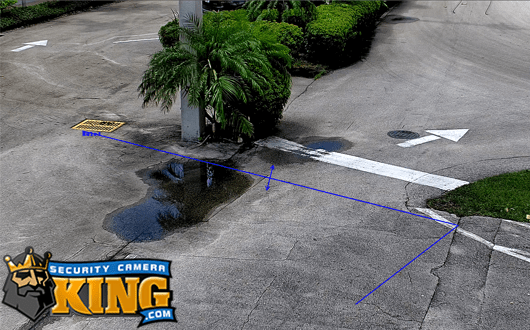
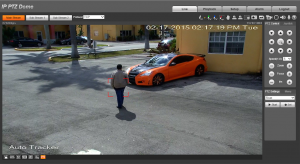
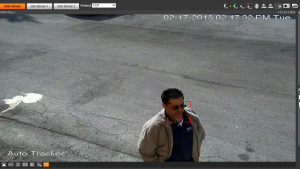
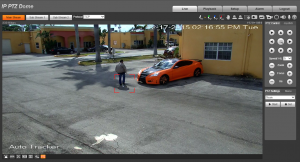
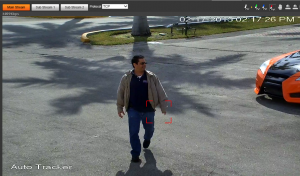
Like you see in the pictures below an intruder crossed the intrusion area I configured in the camera then it started tracking him.
Let’s now configure a rule with tripwire. The process is the same, the only difference is that tripwire is a single line instead. You can also assign this rule to activate when an object crosses from A side, B side, A to B side or vice versa.
Like you see in the pictures above an intruder tripped the tripwire rule I have configured in the camera then it started tracking him.
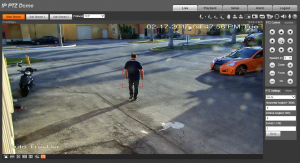
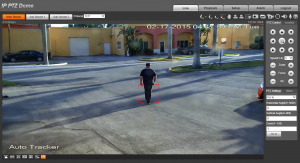
At this point the camera will be able to activate with any of the triggers I have configured. One recommendation about this camera is to make sure is installed as high as possible so it has more field of view to track more accurately.
Other type of configurations rules you can set in this camera are Cross Warning Zone, this type of setting basically detects the moving object crossing a specified are you draw in the picture. It can detect objects entering or leaving the area and it also support object size filter.
Perimeter Detection detects when an object is crossing the perimeter. It consist of any combination of two straight lines. It also support one-way, dual-way cross detection.
Loitering Detection is similar to intrusion detection. It detects the object in the specific zone and if it stays in the area for a while, it will create an alarm and will make the camera track the object in question.
Abandoned Object Detection is ideal to configure in those areas where a lot of pedestrian traffic occurs. For example, in an airport you can configure this setting in a specific area and if someone leaves an object in the marked area it will immediately sends an alert and make the camera track the object in question.
Missing Object Detection is pretty much the same idea as Object Detection, but the camera only detects objects that were in the designated area and at any point in time if the object disappears, then the camera will track and create an alarm.
One other way to configure this camera beside a single scene or multi scene is called Panorama Scene. The system can auto track the object when there is any object entering the monitor zone. For example, when there is an object entering the monitor zone, you can set the speed dome to enable auto tracking function after it recognized the object for 1 second. You can set it to track the object for 30 seconds and the tracking rate is auto. You can follow the steps listed below to set.

