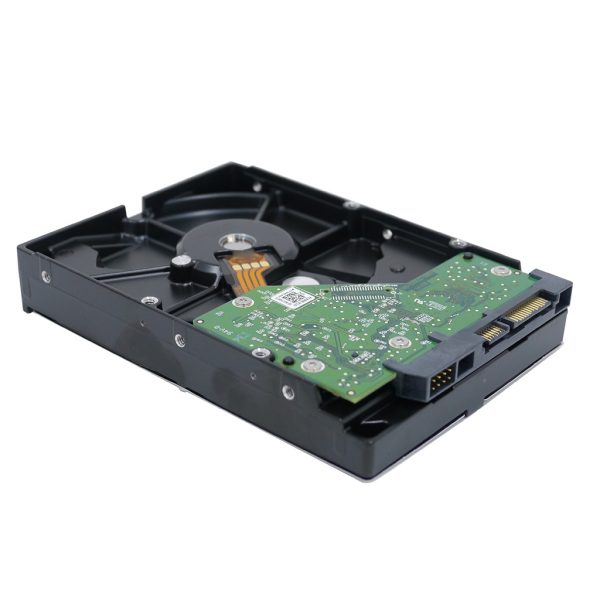
Clearing CCTV camera video involves deleting recorded footage to free up storage space or to ensure that the data is no longer accessible. This process can vary depending on the type of recording system you are using, such as a Digital Video Recorder (DVR) or Network Video Recorder (NVR). Here’s a step-by-step guide to help you clear CCTV camera video effectively and securely.
Tools and Materials Needed:
- CCTV camera system (DVR or NVR)
- Computer or smartphone
- Admin access to the recording system
Step-by-Step Process:
- Access the DVR/NVR:
- Log In: Use your admin credentials to log into your DVR or NVR system through its web interface or dedicated software.
- Navigate to Storage Management: Find the storage management or video management section in the menu. This section allows you to view and manage recorded footage.
- Select the Video Footage:
- Choose Date and Time: Use the calendar and time sliders to locate the specific footage you want to delete. You can usually select a range of dates and times.
- Review Footage: If needed, review the footage to ensure you are deleting the correct videos.
- Delete the Footage:
- Select Delete Option: Look for the delete or erase option in the storage management section. This option may be labeled as “Delete,” “Erase,” “Clear,” or something similar.
- Confirm Deletion: The system will typically ask for confirmation before deleting the footage. Confirm that you want to delete the selected videos.
- Clear All Footage (Optional):
- Select All Footage: If you want to clear all recorded footage, look for an option to select all files or a “Clear All” button.
- Confirm Deletion: Confirm that you want to delete all recorded videos. This will clear all footage stored on the DVR/NVR.
- Format the Hard Drive (Optional):
- Access Storage Settings: Navigate to the storage settings or hard drive management section of the DVR/NVR.
- Select Format Option: Choose the option to format the hard drive. This will erase all data and reset the storage device.
- Confirm Formatting: Confirm that you want to format the hard drive. Be aware that this will permanently delete all footage and settings.
- Check for Automatic Deletion Settings:
- Automatic Overwrite: Many DVR/NVR systems have an automatic overwrite feature that deletes the oldest footage when the storage is full. Check if this feature is enabled to ensure continuous recording.
- Adjust Settings: If needed, adjust the settings to control how long footage is retained before being automatically deleted.
Additional Tips:
- Regular Maintenance: Periodically check and clear old footage to ensure there is enough storage space for new recordings.
- Backup Important Footage: Before clearing footage, back up any important videos to an external storage device or cloud storage.
- Ensure Admin Access: Only users with admin access should be able to delete footage to prevent unauthorized deletions.
Related Products
Frequently Asked Questions (FAQ)
- Can I recover deleted footage from a DVR/NVR?
- Once footage is deleted from a DVR/NVR, it is usually not recoverable. Always back up important footage before deleting it.
- How often should I clear my CCTV footage?
- The frequency of clearing footage depends on the storage capacity of your DVR/NVR and the recording schedule. Regularly monitor storage usage to determine when to delete old footage.
- Is it safe to format the hard drive of my DVR/NVR?
- Formatting the hard drive is safe but will permanently erase all data. Ensure you have backed up any important footage before formatting.
- Can I set my DVR/NVR to automatically delete old footage?
- Yes, many DVR/NVR systems have an automatic overwrite feature that deletes the oldest footage when the storage is full.
- Why can’t I delete footage from my DVR/NVR?
- Ensure you have admin access and the necessary permissions to delete footage. Check the system settings for any restrictions on deleting footage.


