Running security camera cables through walls can help create a clean, professional-looking installation while protecting the cables from damage. Here’s a comprehensive guide to help you run security camera cables through walls:
Step 1: Plan Your Cable Route
- Survey the Area: Determine the best path for running cables by surveying the installation site. Identify the locations of your cameras, DVR/NVR, and power sources.
- Locate Studs and Obstacles: Use a stud finder to locate studs in the walls. Plan your route to avoid studs, electrical wiring, plumbing, and other obstacles.
- Measure Distance: Measure the distance from each camera to the DVR/NVR and power source to ensure you have enough cable length.
Step 2: Gather Necessary Tools and Materials
- Drill and Drill Bits: For making holes in walls. Use drill bits suitable for your wall type (e.g., wood, drywall, masonry).
- Fish Tape or Cable Puller: To guide cables through walls and tight spaces.
- Cable Clips and Ties: To secure cables along the route.
- Conduits and Junction Boxes: For protecting and organizing cables.
- Utility Knife: For cutting drywall if necessary.
- Stud Finder: To locate studs and avoid obstacles.
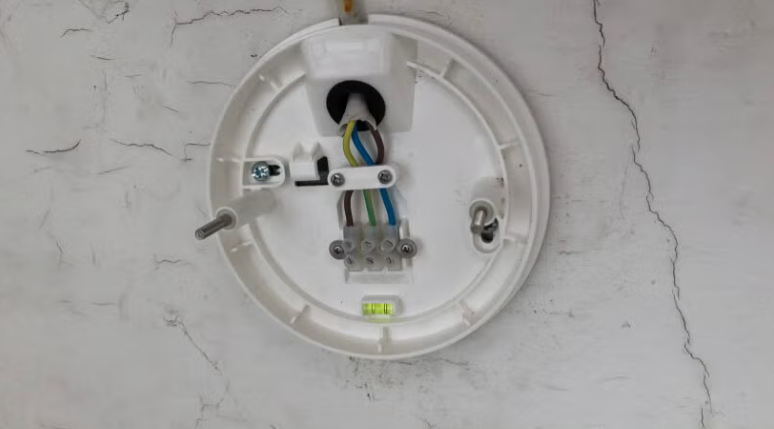
Step 3: Drill Holes
- Mark Entry and Exit Points: Mark the spots where the cables will enter and exit the walls. Ensure these points are clear of studs and other obstacles.
- Drill Holes: Use a drill with the appropriate bit to make holes at the marked entry and exit points. Make the holes large enough for the cables to pass through.
Step 4: Feed the Cables
- Insert Fish Tape: Insert fish tape into the hole at the camera location and guide it through the wall to the exit point.
- Attach Cables to Fish Tape: Securely attach the security camera cables to the end of the fish tape.
- Pull Through: Carefully pull the fish tape back through the wall, bringing the cables with it. Be patient and avoid forcing the cables to prevent damage.
Step 5: Route the Cables
- Inside Walls: If running cables vertically inside walls, use the fish tape to guide the cables through wall cavities. If running horizontally, navigate around studs by drilling through them if necessary.
- Through Conduits: If using conduits, feed the cables through them for added protection. Secure conduits with brackets or clips.
Step 6: Secure and Connect
- Secure the Cables: Use cable clips and ties to secure the cables along the walls and ceilings. Ensure they are neat and out of the way.
- Connect to Cameras: Attach the cables to the corresponding ports on the cameras.
- Connect to DVR/NVR: Plug the other ends of the cables into the DVR/NVR.
Step 7: Power the Cameras
- Direct Power Supply: Connect the power cables to a nearby power outlet using the provided adapters.
- Power over Ethernet (PoE): If using PoE, ensure the Ethernet cable is connected to a PoE switch or injector, which provides power and data through the same cable.
Step 8: Test the System
- Power On the Cameras: Turn on the cameras and check if they are receiving power.
- Monitor the Feed: Verify the video feed on your monitor or DVR/NVR to ensure everything is working correctly.
Related Products
Frequently Asked Questions (FAQ)
1. What type of cable should I use for running through walls?
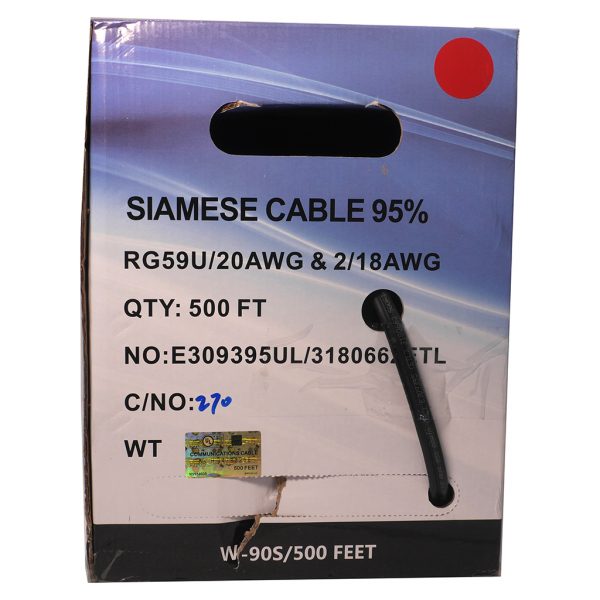
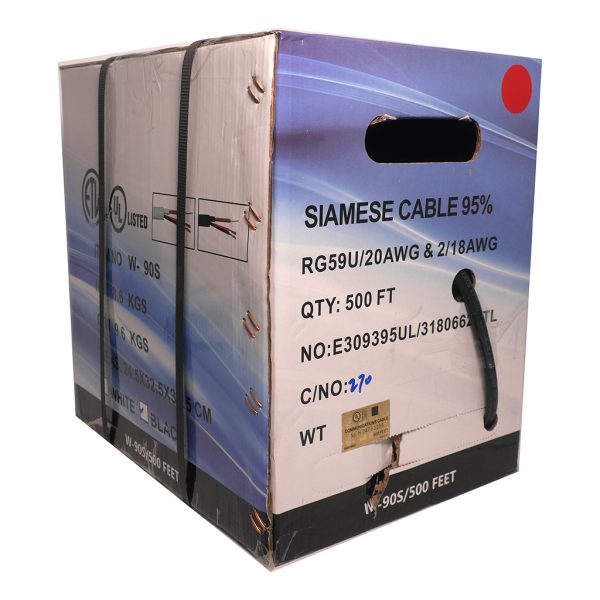
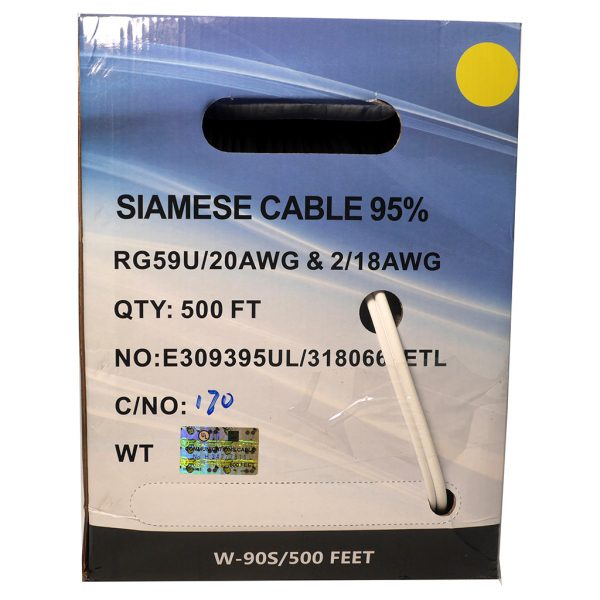
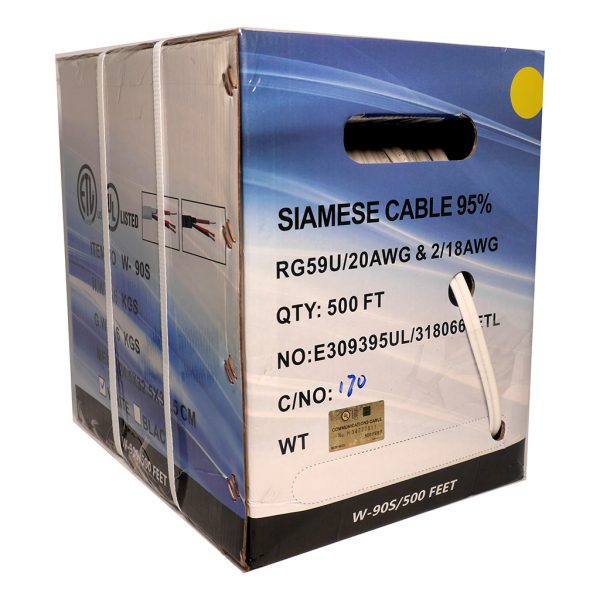
- Use RG59 or RG6 coaxial cables for analog cameras and Cat5e or Cat6 Ethernet cables for IP cameras.
2. How do I avoid obstacles when running cables through walls?
- Use a stud finder to locate studs, electrical wiring, and plumbing. Plan your route to avoid these obstacles.
3. What tools do I need to run security camera cables through walls?
- Tools include a drill, drill bits, fish tape, cable clips, ties, conduits, junction boxes, utility knife, and stud finder.
4. Can I run power and video through the same cable?
- Yes, you can use cables that combine video and power transmission or use Power over Ethernet (PoE) for IP cameras.
5. How do I ensure a neat installation?
- Plan your cable route carefully, use conduits and cable clips, and secure the cables along walls and ceilings.