Connecting a surveillance camera to a computer monitor allows you to monitor your premises directly on your screen. Here’s a step-by-step guide to help you get started
Step 1: Gather Necessary Equipment
- Surveillance Camera: Ensure your camera is properly installed and powered on.
- Computer Monitor: Make sure your monitor is compatible with the camera’s output (e.g., VGA, HDMI).
- Cables: Depending on your camera and monitor, you may need VGA, HDMI, or RCA cables.
- DVR/NVR (Optional): If your camera system includes a Digital Video Recorder (DVR) or Network Video Recorder (NVR), you’ll need to connect the camera to the DVR/NVR first.
Step 2: Connect the Camera to the DVR/NVR (If Applicable)
- Wired Cameras: Use coaxial or CAT5e cables to connect the cameras to the DVR/NVR.
- Wireless Cameras: Power on the cameras and pair them with the DVR/NVR according to the manufacturer’s instructions.
Step 3: Connect the DVR/NVR to the Monitor
- VGA Connection: Use a VGA cable to connect the DVR/NVR’s VGA output to the monitor’s VGA input.
- HDMI Connection: Use an HDMI cable to connect the DVR/NVR’s HDMI output to the monitor’s HDMI input.
- RCA Connection: Use RCA cables to connect the DVR/NVR’s RCA outputs to the monitor’s RCA inputs.
Step 4: Power Up and Configure
- Power On: Turn on the DVR/NVR and the monitor.
- Select Input: On the monitor, select the appropriate input source (VGA, HDMI, or RCA).
- Access Camera Feed: Use the DVR/NVR’s interface to access the live feed from the surveillance cameras.
Step 5: Test the Connection
- Check Feed: Ensure that the camera feed is displayed correctly on the monitor.
- Adjust Settings: If necessary, adjust the camera settings on the DVR/NVR to optimize the display quality.
Related Products
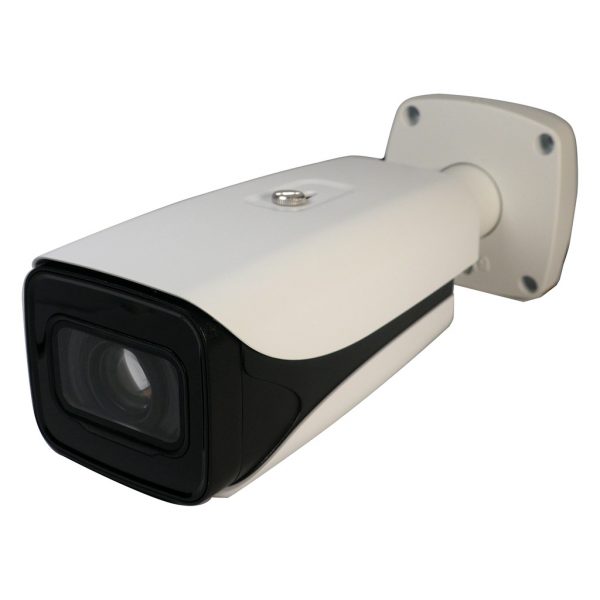
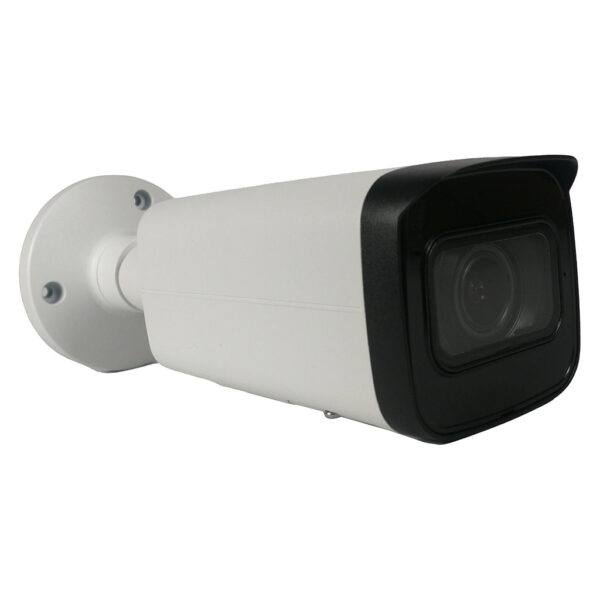
ELITE 2MP IP Motorized Lens Long Range Bullet W/External Mic Audio & EPoE
Specifications
- Lens: 5~60mm Motorized Lens
- Max Resolution: 2MP
- IR Distance: 656 FT
- Impact Protection: IK10
- Audio: Audio Capable With External Mic
- SD Card Compatible: Yes
- Perimeter Protection: Yes
- Object Detection: Yes
- Face Detection: Yes
- Face Recognition: No
- Smart Motion Detection: No
- LPR: No
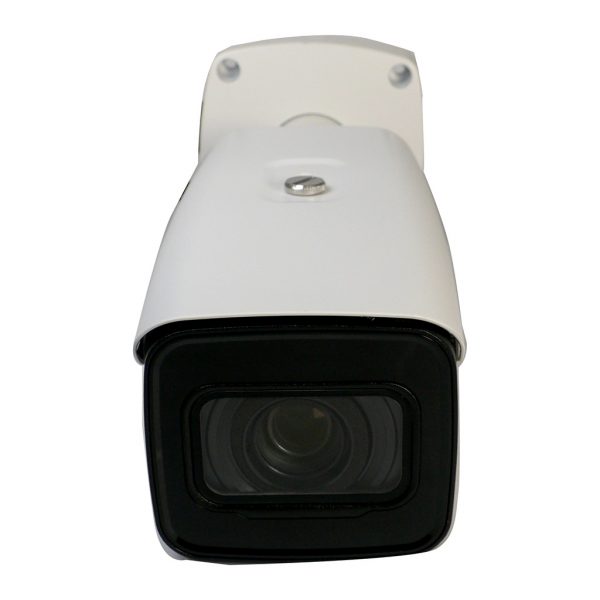
ELITE 4MP IP Motorized Varifocal Bullet W/built Mic & SD Card Slot
Specifications
- Lens: 2.7 mm–13.5 mm Motorized Varifocal Lens
- Max Resolution: 4MP
- IR Distance: 196 feet
- Audio: Built In Mic
- SD Card Compatible: Yes
- Perimeter Protection: Yes
- Object Detection: No
- Face Detection: No
- Face Recognition: No
- Smart Motion Detection: Yes
- LPR: No
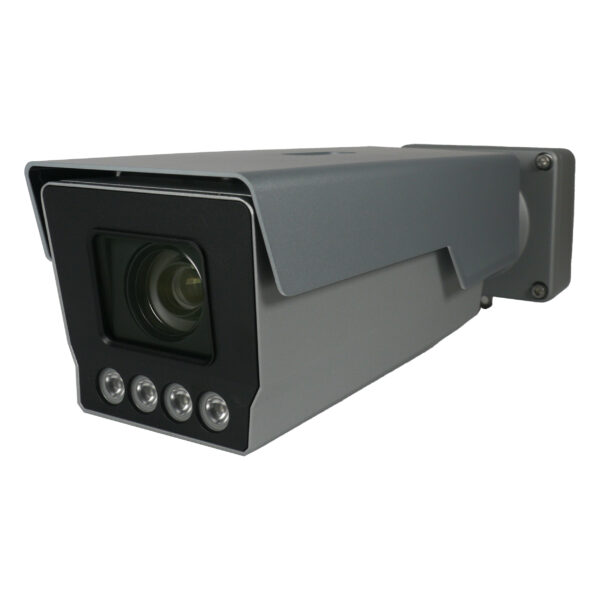
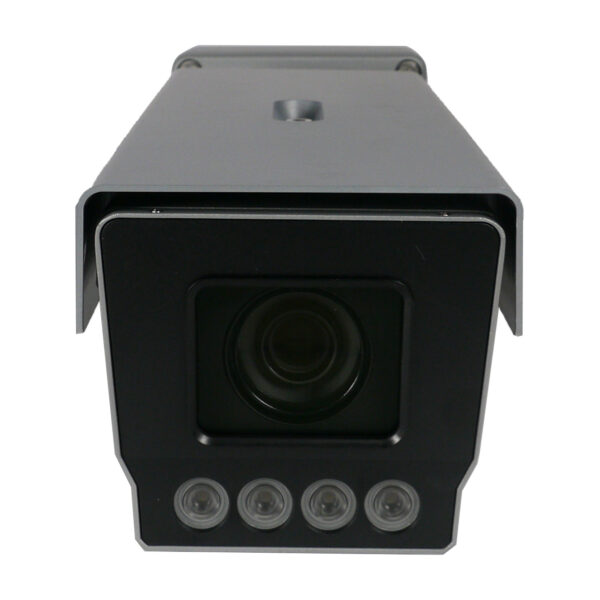
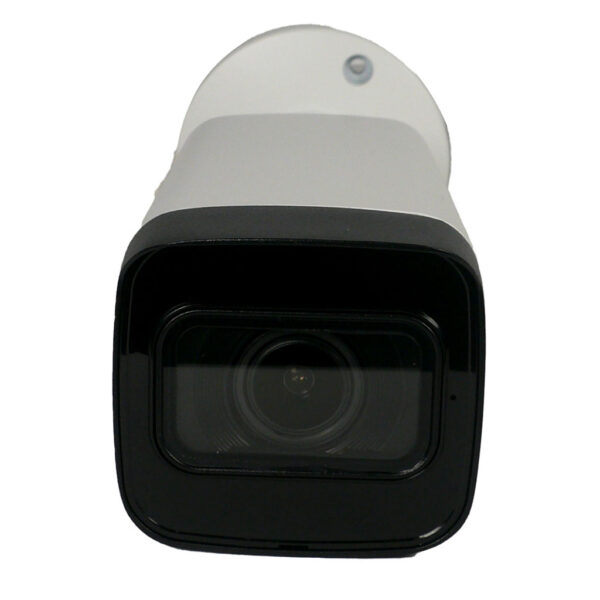
4MP ELITE Series AI Traffic Enforcement Camera
Specifications
- Camera: IPLPR-EL4IR30Z5X-AI
- Lens: 10mm-50mm
- Max Resolution: 4MP
- IR Distance: 98.43 FT
- Impact Protection: IK10
- Audio: Capable With External Mic
- SD Card Compatible: Yes
- Perimeter Protection: Yes
- Object Detection: No
- Face Detection: No
- Face Recognition: No
- Smart Motion Detection: No
- LPR: Yes
Frequently Asked Questions (FAQ)
- Can I connect a surveillance camera directly to a computer monitor without a DVR/NVR?
- Yes, some cameras can be connected directly to a monitor using appropriate cables (e.g., VGA, HDMI). However, using a DVR/NVR often provides additional features like recording and storage.
- What cables do I need to connect a surveillance camera to a monitor?
- The cables you need depend on your camera and monitor. Common options include VGA, HDMI, and RCA cables.
- How do I know if my monitor is compatible with my surveillance camera?
- Check the camera’s output ports (e.g., VGA, HDMI) and ensure your monitor has corresponding input ports.
- What should I do if the camera feed is not displaying on the monitor?
- Ensure all cables are securely connected, select the correct input source on the monitor, and check the DVR/NVR settings.